Upgrading from CRM 4.0 to CRM 2011
Simon Phillips, 19 April 2011
With the release of Dynamics CRM 2011, a lot of customers will want to upgrade their current Dynamics CRM 4.0 systems to Dynamics CRM 2011. In this post I will be providing a beginning to end process that you will need to follow to perform an upgrade.
Backing up your existing database and restoring to a new server
1.First you need to start by making a backup of your current CRM database
2. To do this you need to open up SQL Server Management Studio on the server that holds your CRM database
3. Right click on the database named “orgname_MSCRM” where orgname is the name of your CRM
4. Go down to Tasks > Back Up…
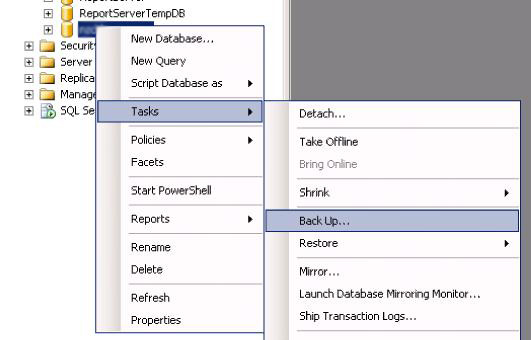
5. The following window will then open
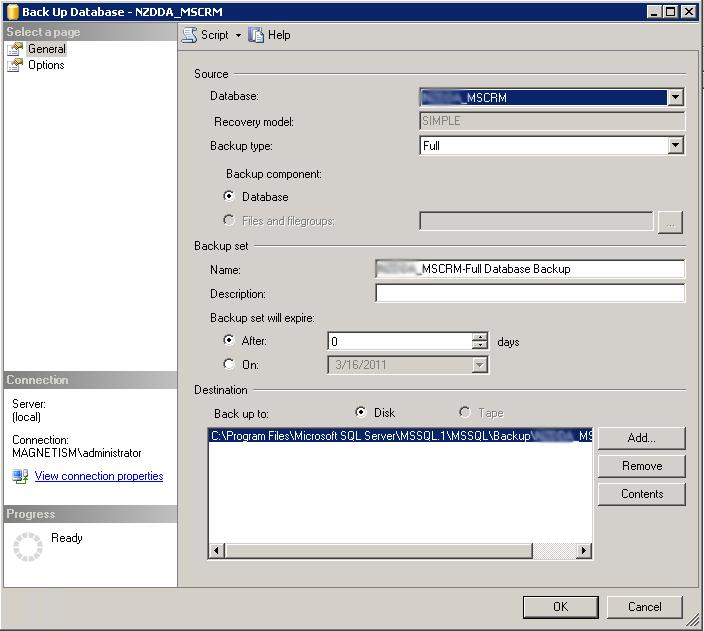
6. Most of the data will be filled out for you; the only thing that you will want to change is the destination where your back up will be saved to.
7. Once you click OK it will go through and save the entire database
8. Now that you have a copy of the existing database you can copy it across to the new server that will hold your CRM 2011 version of it. NB. This needs to be a 64 bit server.
9. Open up SQL Server Management Studio on this server
10. Right click on the Databases folder and select Restore Database…
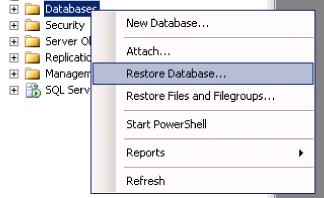
11. The following window will then open
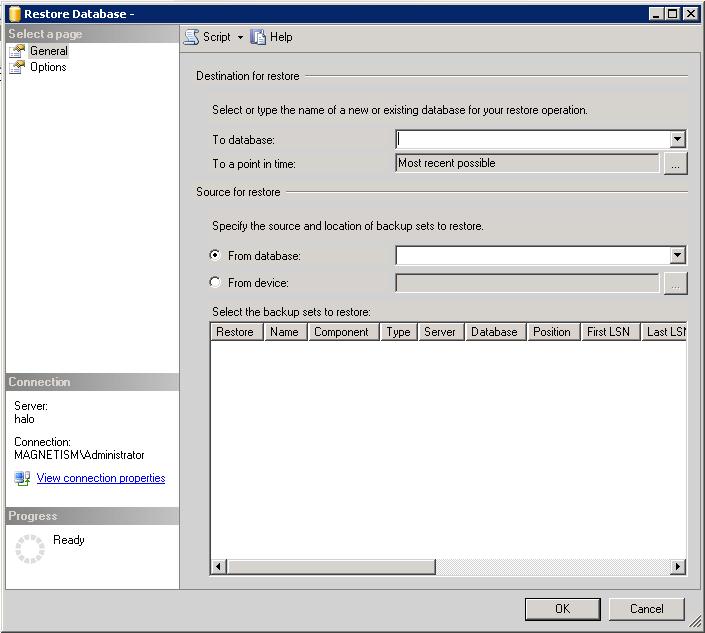
12. The first thing you need to do is to change the selection from “From Database” to “From Device”
13. Then click the ellipsis (…)
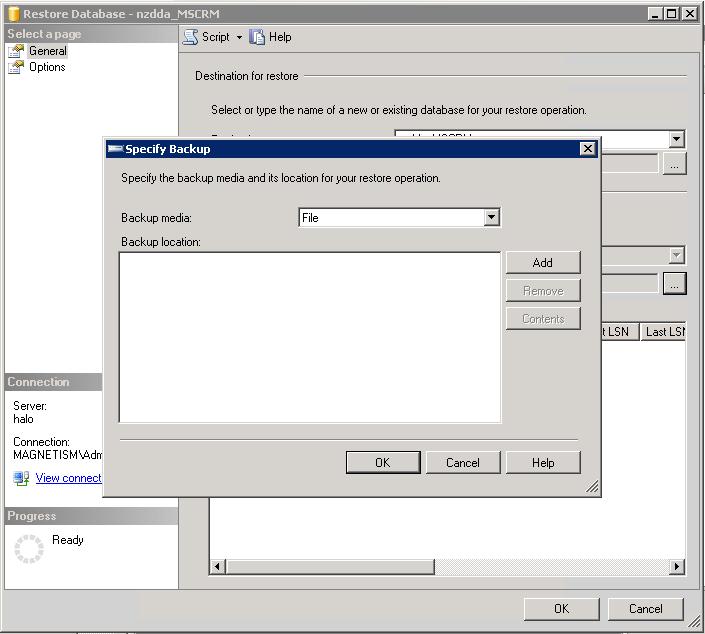
14. That will open a window asking you to specify a backup, to do this click on “Add”
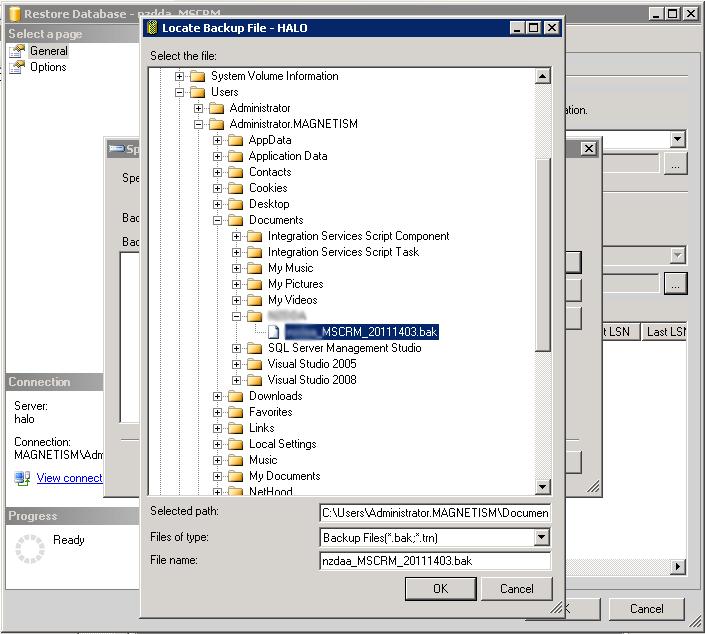
15. Locate your backup file
16. Once you have added which database to restore you then need to give the database a name which to restore it to. SQL Server Management Studio creates a Database for you in the list to select that has a relevant name
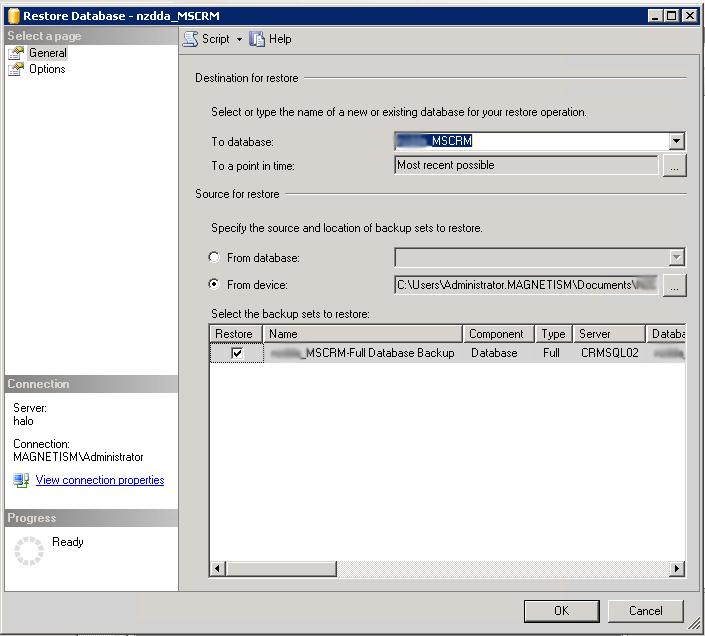
17. Once you have filled out all this info you can click OK
18. The process of this could take some time depending on the size of the database you are trying to restore
Upgrading the database and creating the CRM organisation
1. Open up the CRM deployment manager
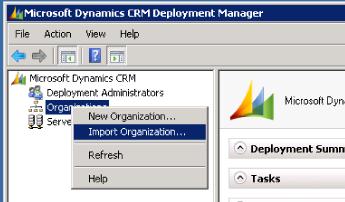
2. Right click on Organisations and select Import Organisations…
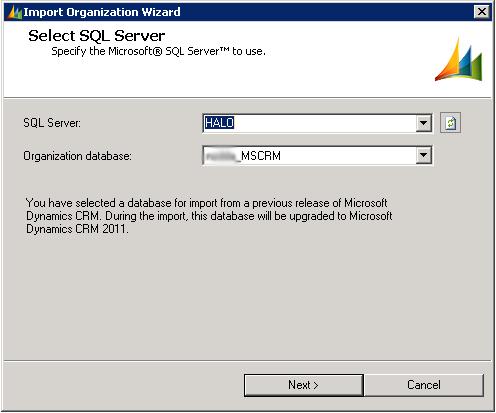
3. The wizard will fill out as much information that it can so there is minimal input by the user, unless you come across errors
4. For myself the first few steps in the wizard were prefilled but if it isn’t for you, you need to select the SQL Server that the database you just restored is located on and then the actual database itself
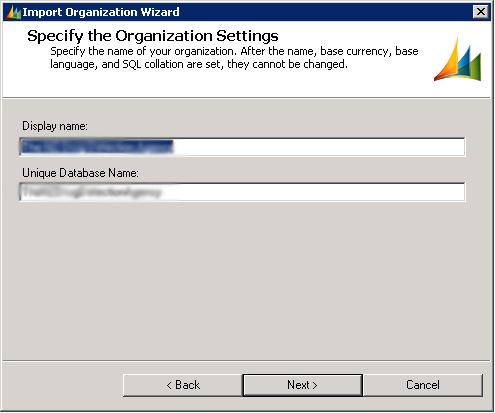
5. Next is the Display and Unique names this will prefill to the names used for the previous CRM 4.0 names, but you can change them if you wish
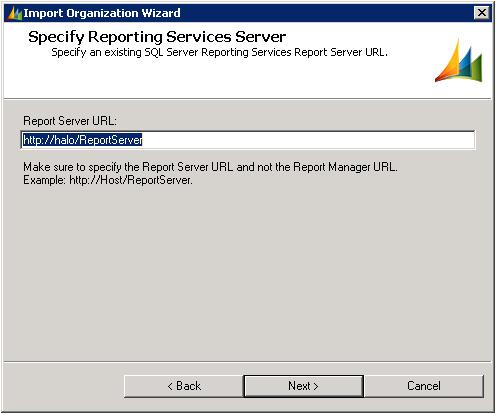
6. The next steps is the report server for me this was filled out for me but if not you need to provide it
7. Now on to the steps that are involved in the actual database upgrade
8. Since the next step is involving user mapping you will first need to add the users to your AD (Active Directory)
Adding Users to your AD
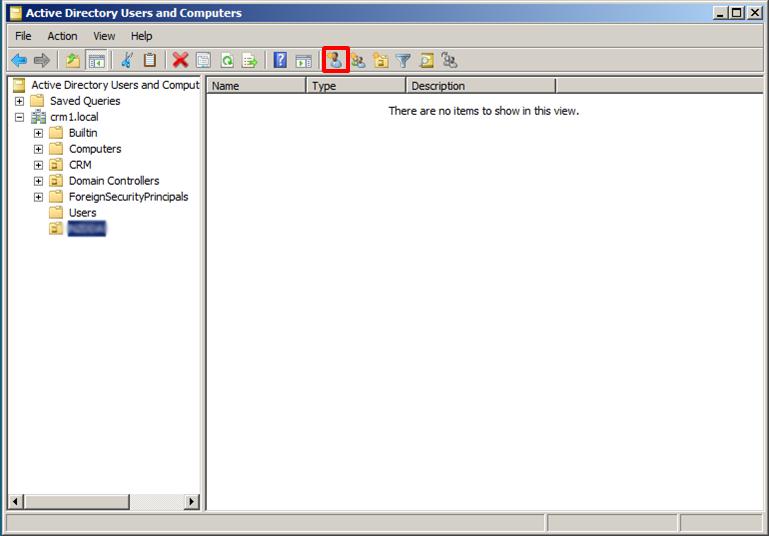
1. To add users to your AD go to the start menu > Administrative Tools > Active Directory Users and Computers
2. Click the highlighted button to create a new user
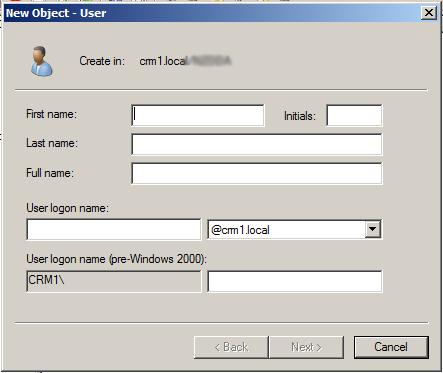
3. The wizard is self-explanatory but the only fields that you are required to fill in are “first Name”, “Initials”(optional), “Last Name”, “User Logon Name”
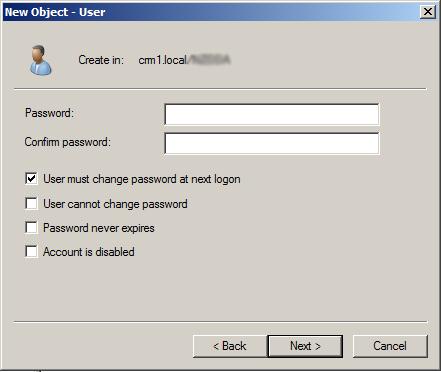
4. Next you need to provide a password and the options for the user
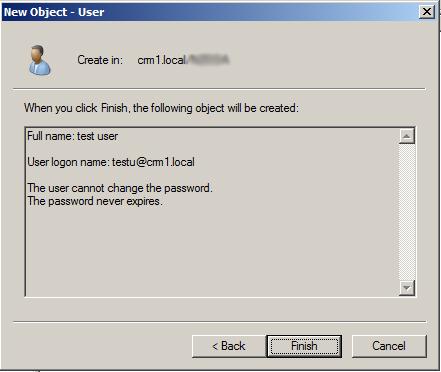
5. Finally just confirm that everything is correct and click finish to create the user
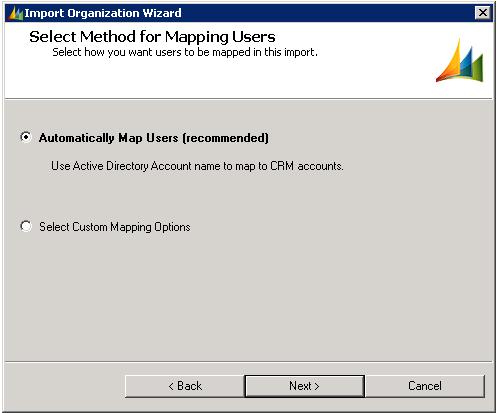
6. In this next step you have an option to have the Users map automatically (Highly Recommended) or select custom mapping options
7. You will receive the following error if the wizard is unable to automatically map any/all of the users
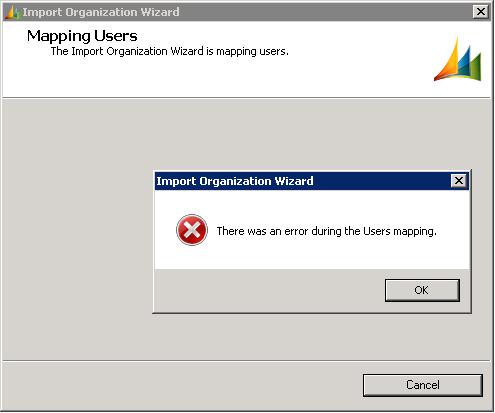
8. Clicking OK will just bring you to the screen below where you have to manually map the users that didn’t automatically get mapped
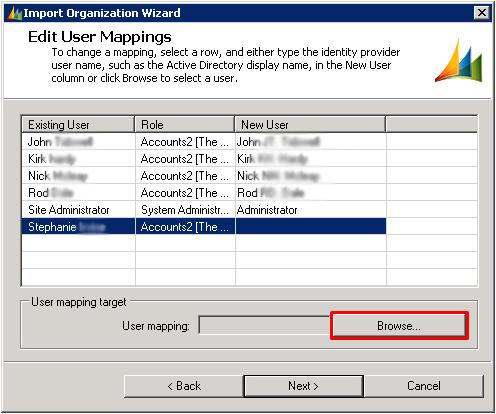
9. To map a user click on Browse…
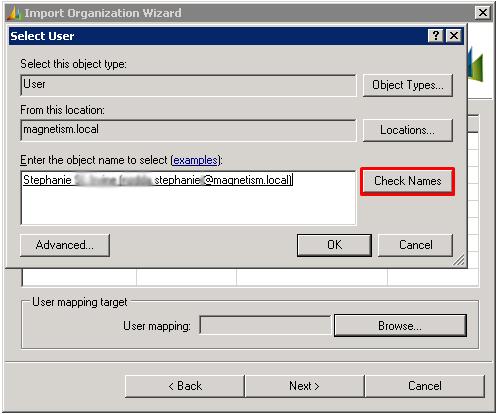
10. That will open the below window. Simply type in the name of the user you wish to map to and then click check names, click OK to confirm the user to map to
11. If you don’t map all the users and try to continue on with the wizard you will get the following warning
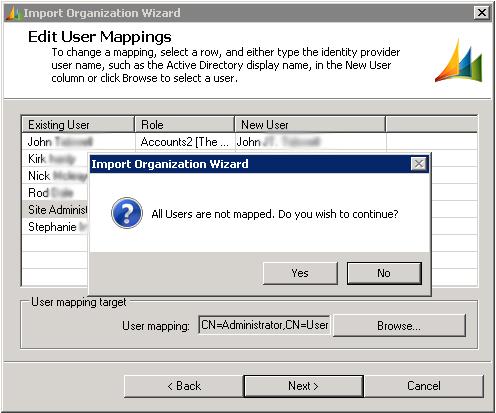
12. At this stage the wizard may look like this, take a close look and what’s highlighted as it is the cause of the error that I’m about to explain
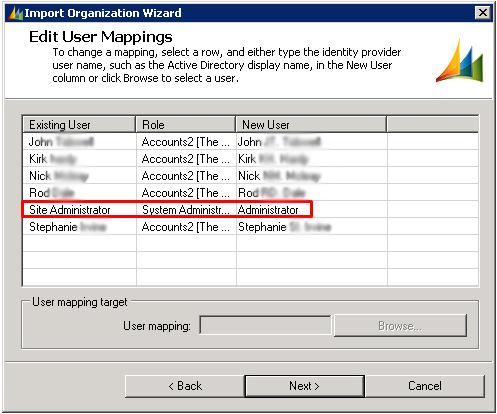
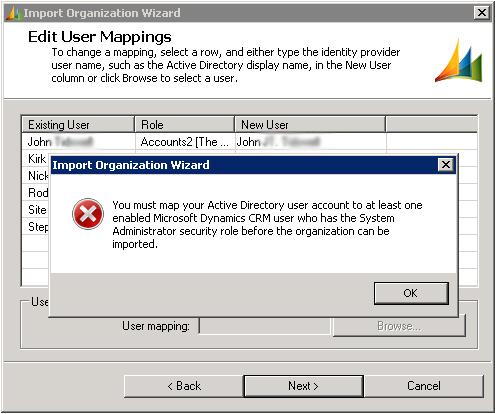
13. That error is the one below; this may be because when the users got automatically mapped it would have mapped the site administrator (user from old CRM) to the Computer Administrator instead of the CRM 2011 Site Administrator. This is easy to fix, just remap the user to the correct one
14. Finally after all this has been sorted you can move onto the next step in the wizard, this is just doing some system checks
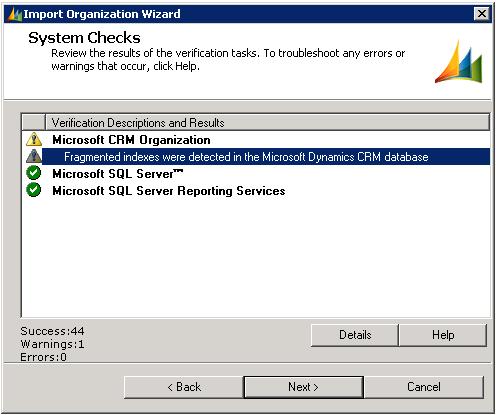
15. If that all goes through without any errors you can move on the final part of the wizard, the confirmation
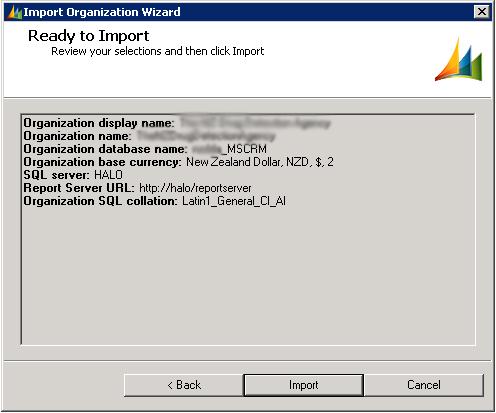
16. Confirm all this to start the import
NB. The import can take some time depending on the size of the database, some people have been reporting more than 3 hours.
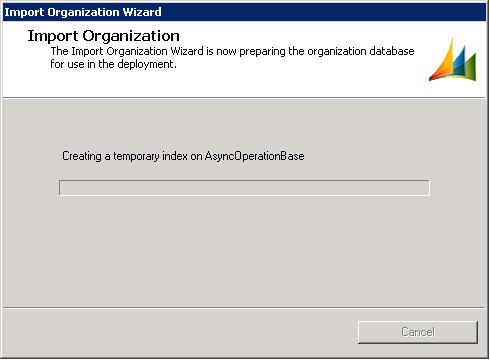
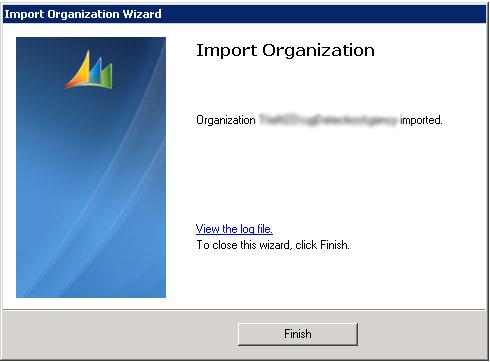
17. Finally when the wizard completes click the finish button and you’re all done and can open up the new CRM 2011 version of your data.
