

Styles for a Custom Report
Simon Phillips, 22 June 2010
In my previous blog I showed you the basics of creating a custom report, if you have not read this or watched the video I suggest that you do that first. This blog I am going to show you all the other cool little things that you can do to customize the report more.
The first thing you should know is that the report size is completely resizable to fit as many or as few charts or tables you want to display on the report. You can also adjust the background colour the chart colours and the chart itself after you have applied data to the chart. These are some simple things that make such a difference when you are turning these reports into dashboards inside of CRM.
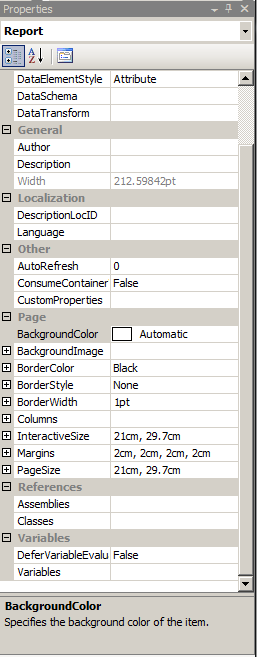
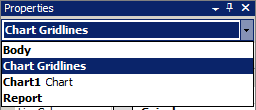
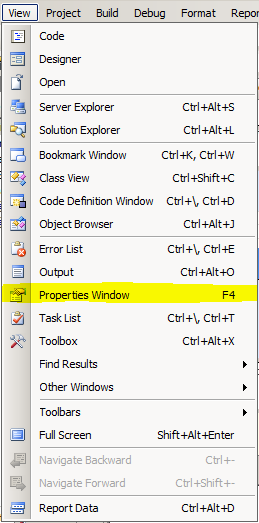 To be able to change all this you need to have available the properties pane, to open it you can go to ‘view>properties window’ or just use ‘F4’. From within that pane you can access all the different options for changing how the report looks and feels. Also with the drop down at the top you can change what you are editing. To make the report blends into CRM you need to find out what colour they use, from the SDK I found that they use the colour ‘#D6E8FF’.
 Now for how to get the report into CRM Save the report to a place you can find later. Open up CRM and go to the report section and go to create new report. Change the report type to ‘Existing File’ browse to the location of the .rdl file; change the name if you want. If you are going to use this as a Dashboard you can just go ahead and save it if you are going to use this as a report you should go to the administration tab and change the viewable by to either ‘Organisation’ or ‘Individual’, after that you need to go through and set the categorization fields.
For the people using this as a dashboard we are not quite done, we need to make it so that we can access the report from the web so in the ‘actions’ drop down select ‘Publish report for external use’. To retrieve the URL for the report you need to make sure that you are on the server that CRM is installed on and then access the report server which is usually the URL - ‘http://crm/reportserver’ if this does not work and you are unsure of what yours is you can just go to the deployment manager and under ‘organizations’ right click your crm and select properties there it should tell you you’re report server URL.
Now you have made it to the report server you need to find your report so browse the directories until you find it. Once that you have found it you can copy the URL and add it to the site map and it will be displayed as a dashboard.
For information on how to edit the site map please refer to the blog ‘Editing the site map’.
Category List

Filter by Author
Adam Murchison
Alfwyn Jordan
Arthur Mandisodza
Calum Jacobs
Colin Maitland
David Mochrie
Dominic Liu
Gayan Perera
Harshani Perera
Isaac Stephens
Jaime Smith
Jared Johnson
John Barrencechea
John Eccles
Lauren Withers
Paul Nieuwelaar
Roshan Mehta
Roz Millar
Ryan Blaikie
Ryan Ingram
Sarah Coleman
Sean Roque
Shalane Williams