
CRM 2013 – How to Customize the Quick Create Form
Roshan Mehta, 01 October 2013
Dynamics CRM 2013 introduces new Quick Create Forms to speed up data entry from anywhere in the application. The beauty of these forms is that they can be customized to meet the needs of your organisation. In this post, we will customize the Contact Quick Create form and see how much control we have over the layout and other configuration options.
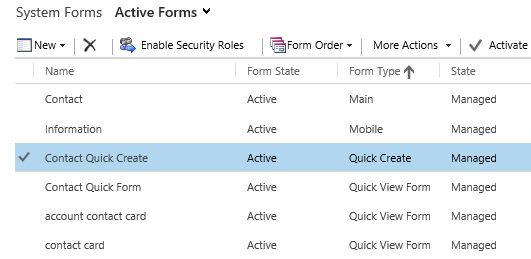
To customize this form, navigate to the list of forms that have been configured for the Contact entity. You will notice the new “Contact Quick Create” form available in the list.
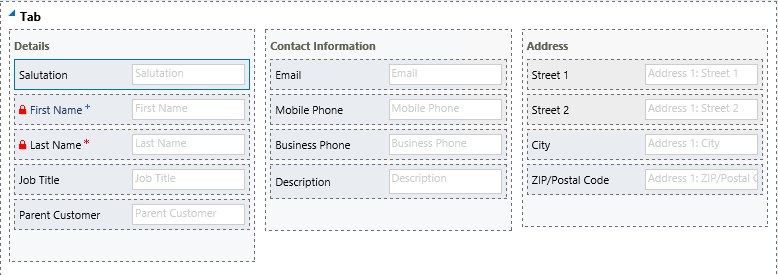
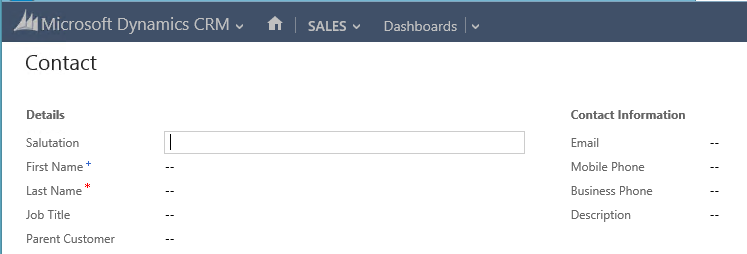
Firstly, I will start by adding the Salutation field to the form which is as simple as dragging the field into the correct position.
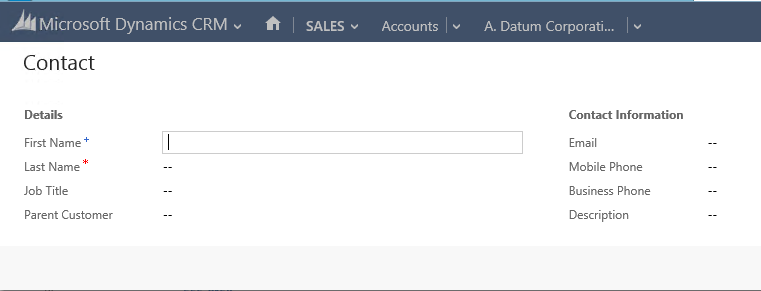
After publishing, we can see that the new field is immediately available on the form.
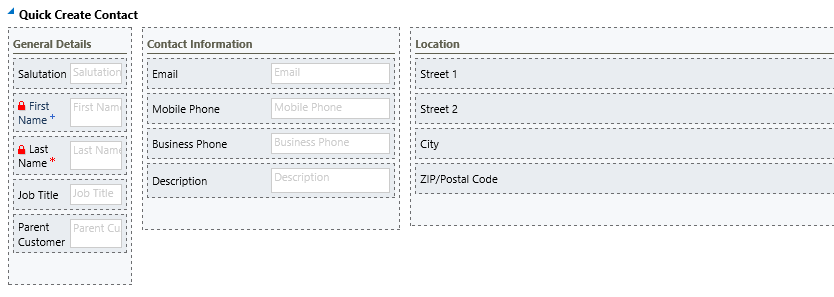
Next, let’s see what options are available to control the layout of the form.
Starting with the tab properties, we can rename the tab but we are unable to set the flag to show the tab label on the form. We are also unable to change the column layout to anything other than three columns. We can however change the width percentages of each of the tab columns.
The tab properties also includes a screen to customize events for the TabStateChange event. I cannot see a use for this since the tab doesn’t actually display on the form within the user interface.
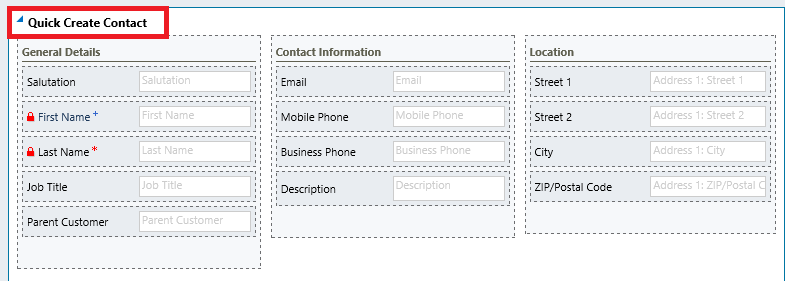

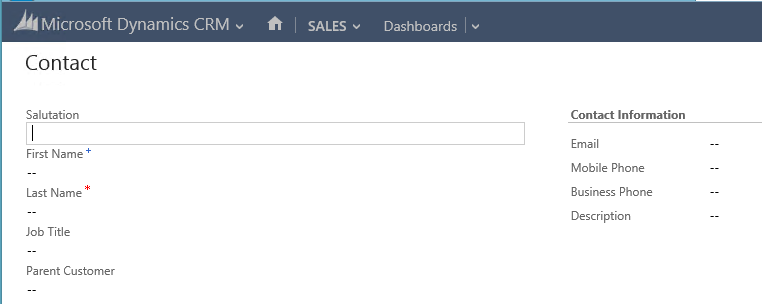
The section customization options are straight-forward. We can control section heading properties and field label alignment and positioning. However, we cannot alter the number of columns in the section as there can only be one column per section. This is what the form looks like after hiding the General Details heading and setting the field label positioning to “top”.
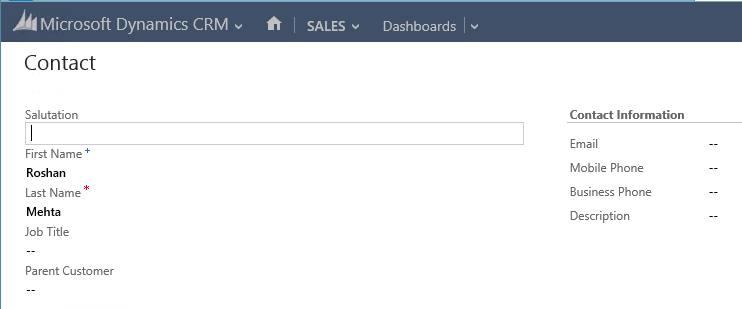
Lastly, Quick Create Forms support JavaScript for the “on change”, “on load” and “on save” events. For example, I have written a simple script to set the “First Name” and “Last Name” fields when the form is displayed.
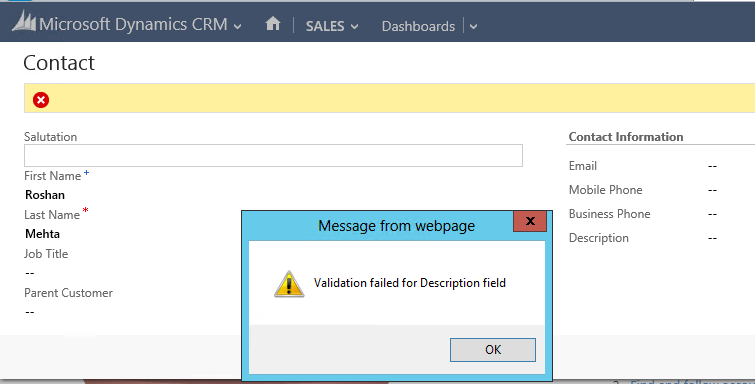
I have also added an “on save” handler which will perform some validation on the “Description” field and prevent the record from being saved.
I hope this blog has given you a good starting point for customizing Quick Create Forms in CRM 2013.
Category List

Filter by Author
Adam Murchison
Alfwyn Jordan
Arthur Mandisodza
Calum Jacobs
Colin Maitland
David Mochrie
Dominic Liu
Gayan Perera
Harshani Perera
Isaac Stephens
Jaime Smith
Jared Johnson
John Barrencechea
John Eccles
Lauren Withers
Paul Nieuwelaar
Roshan Mehta
Roz Millar
Ryan Blaikie
Ryan Ingram
Sarah Coleman
Sean Roque
Shalane Williams