

Install and Configure Dynamics CRM 2013 for Outlook 2013
Paul Nieuwelaar, 04 August 2014
1. Download
First you need to download the Dynamics CRM 2013 Outlook Client Installer, which can be downloaded in 2 ways:
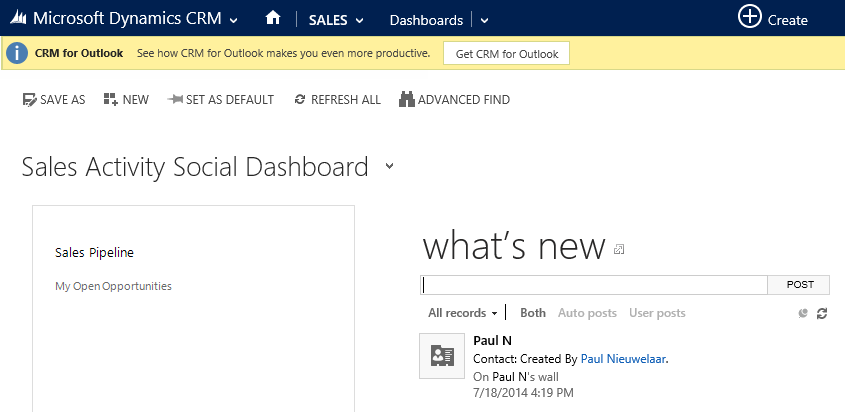
Click on the ‘Get CRM for Outlook’ bar that appears at the top of your Dynamics CRM 2013 system when accessing it via the web browser. Clicking this button will begin the download.
Alternatively you can download the Installer directly from this link: http://go.microsoft.com/fwlink/?LinkID=321806&clcid=0x409
2. Install
Once the file has downloaded, run the executable file. When asked where to extract files to, create a new folder and then click ok (this folder can be deleted at the end of installation).

Once it is completed extracting, the Setup wizard will start automatically. If it doesn’t, navigate to the folder and run the “SetupClient.exe” file manually.
Read and accept the license agreement and click next.
Click Install Now to start the installation.
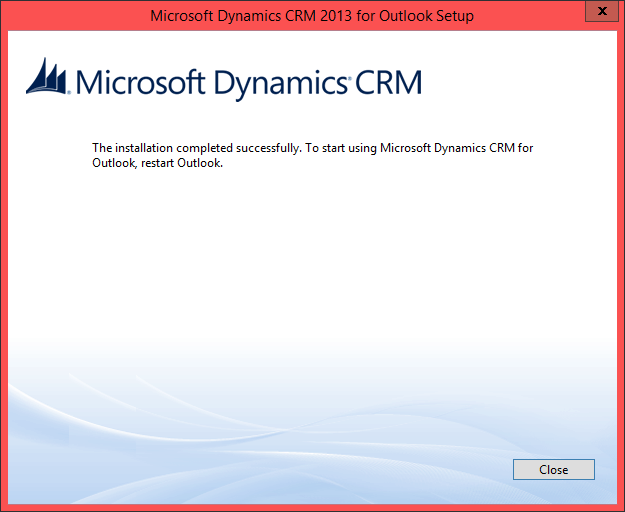
Once it’s finished, click close and then restart outlook.
3. Configure
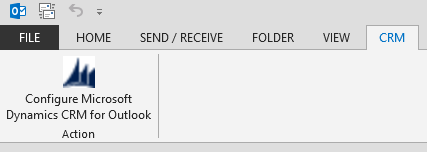
Open outlook, and a window should pop up prompting you to configure your CRM organisation. If it doesn’t pop up automatically, click the CRM tab and select Configure Microsoft Dynamics CRM for Outlook.
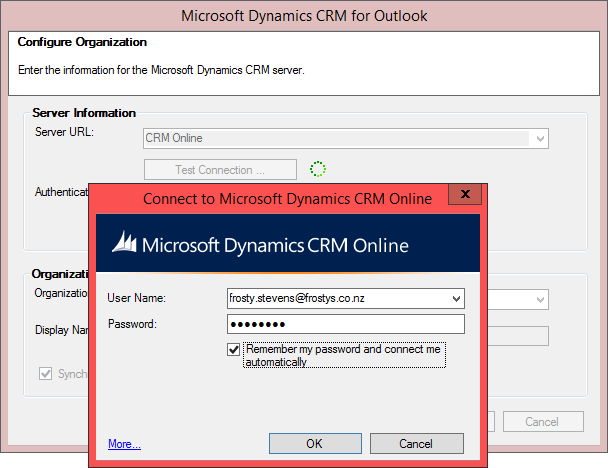
If you are using Dynamics CRM 2011 Online, select ‘CRM Online’ from the Server URL dropdown.
If you are using Dynamics CRM On Premise or Partner Hosted, type in the CRM URL that you use to log in from the web browser, making sure to use ‘https’ if required.
Click Test Connection. If it has successfully made a connection you will be prompted to enter your CRM login credentials. For CRM Online this will be your Office 365 login. For On Premise this should be your domain login, and should authenticate automatically.
Once it has connected, you will be able to select your desired Organisation from the drop down menu. If you are associated with multiple organisations they will all be visible here. Select one, and then change the Display Name if you wish (this will be what shows up in Outlook – you may want to call it ‘CRM’ for example).
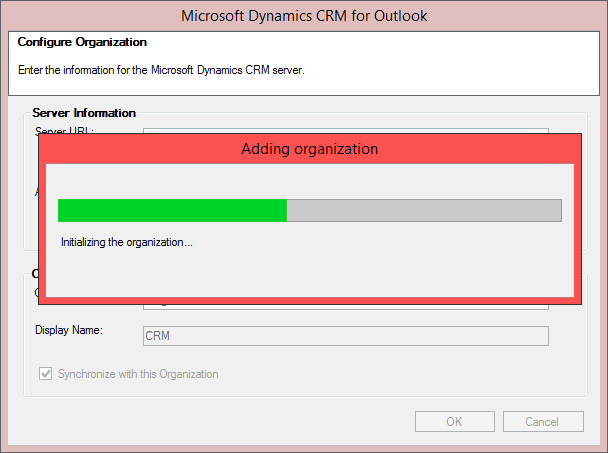
Click OK to set up the organisation. This will take several minutes to configure everything.
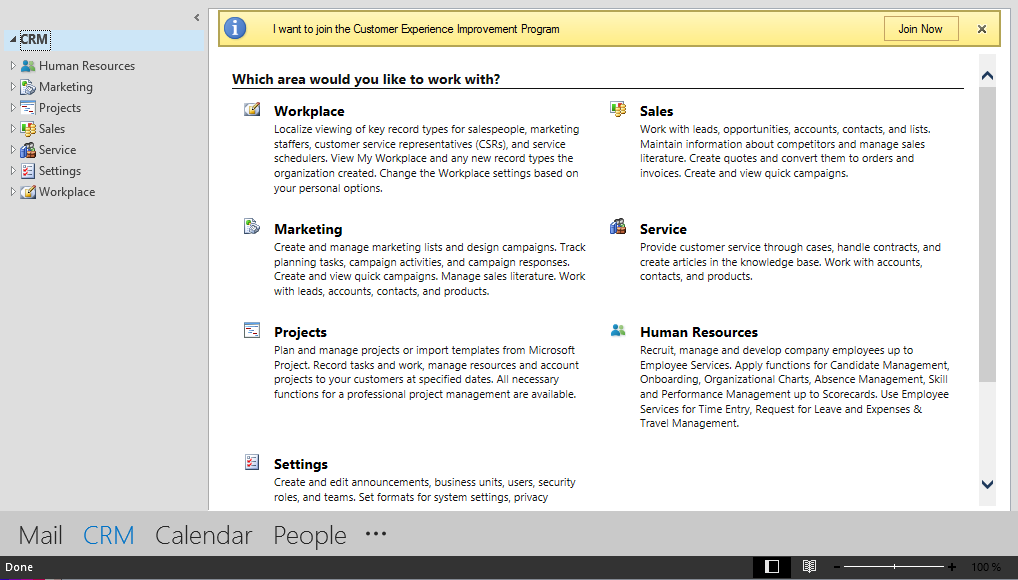
Once it has completed, your new Organisation folder will be created in Outlook. You should now be able to see a new navigation link at the bottom beside Mail and Calendar etc.
4. Personalise
Click on the File menu without outlook, select CRM and then click Options.

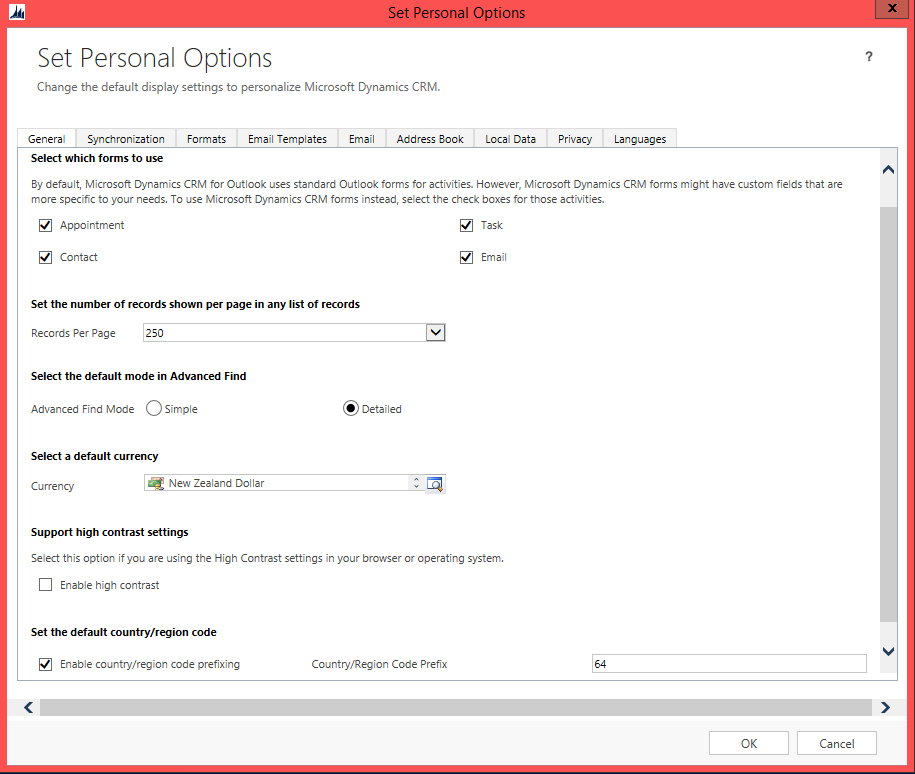
General Tab
Tick the Appointment, Task, Contact, and E-mail boxes near the top. This will mean when activities from CRM are opened in Outlook, the CRM forms will be displayed instead of the Outlook forms. You can also set the number of records shown in views (up to 250), and also whether advanced finds will show the simple or detailed view by default.
Synchronization Tab
Tick all 3 boxes, which will set your computer as the synchronising client. If you install the CRM Outlook Client on multiple computers only one can be the synchronising client. You can also change the synchronisation period between Outlook and CRM.

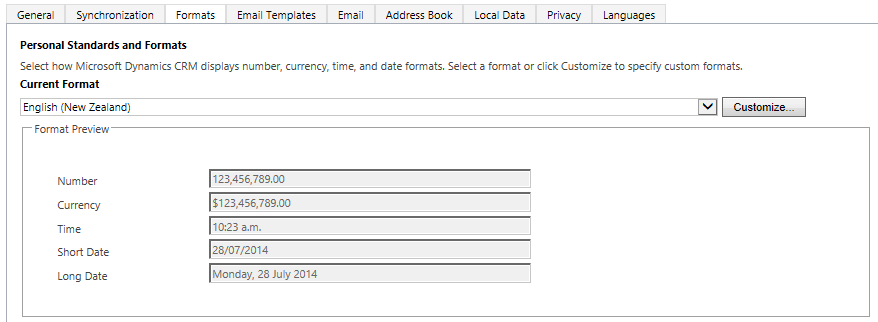
Formats Tab
Make sure your format is selected based on your region so that dates and currencies are displayed correctly for you.
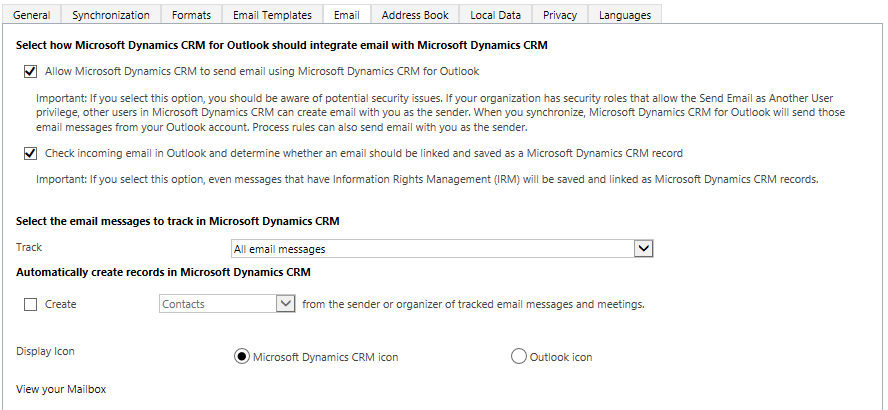
Email Tab
Tick the first box, which will allow emails you send from CRM to be sent through Outlook, and the second box which will automatically track emails in your inbox based on the tracking option below. Using the ‘Track’ drop down, you can specify that all email messages are tracked in CRM, or only messages that are from CRM Contacts etc. You can also choose to automatically create contact or lead records for recipients of an email you track in CRM if they don’t already exist – this is not recommended if you select to track all emails.
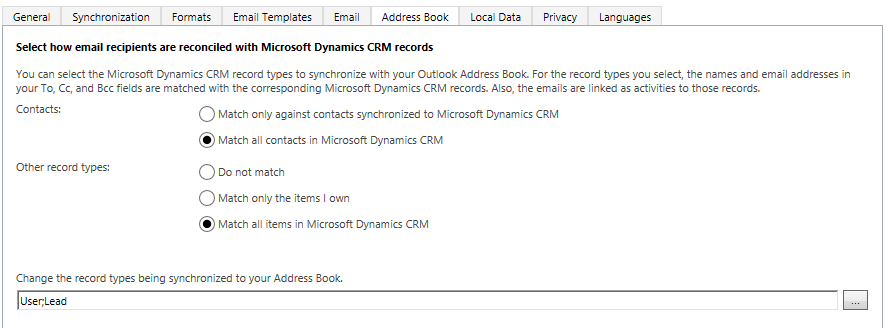
Address Book Tab
Select the bottom radio button for each group to synchronise all Contacts, Accounts, or Leads in CRM with your Outlook address book. At the bottom, you can specify the record types from CRM that you want synchronised with your Outlook address book.
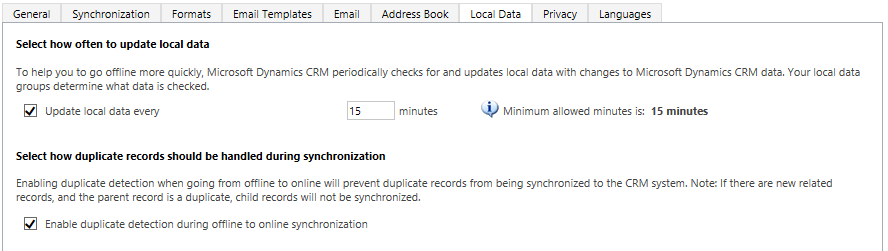
Local Data Tab
If you are using, or planning to use the Offline Capability with CRM, you can select both check boxes, which will update your local data periodically to speed up going offline. You can also enable duplicate detection when synchronizing from offline to online mode.
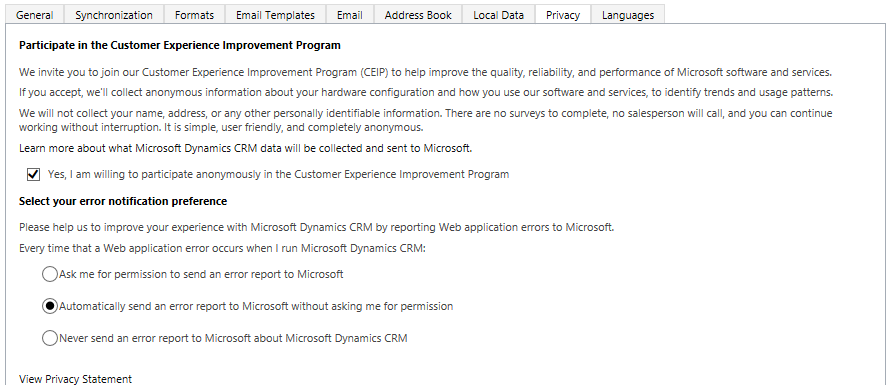
Privacy Tab
To help Microsoft improve quality and performance, you can check the box, and select the middle radio button to automatically send error reports. This will automatically send any CRM errors to Microsoft without them popping up and affecting your experience.
Click OK to save and close your personal options.
Category List

Filter by Author
Adam Murchison
Alfwyn Jordan
Arthur Mandisodza
Calum Jacobs
Colin Maitland
David Mochrie
Dominic Liu
Gayan Perera
Harshani Perera
Isaac Stephens
Jaime Smith
Jared Johnson
John Barrencechea
John Eccles
Lauren Withers
Paul Nieuwelaar
Roshan Mehta
Roz Millar
Ryan Blaikie
Ryan Ingram
Sarah Coleman
Sean Roque
Shalane Williams