
Commenting on an Article in Dynamics CRM 2011
Paul Nieuwelaar, 14 March 2011
In my last blog post, I described What to Check for when Approving an Article in Dynamics CRM 2011, showing how you can build a powerful knowledge base by approving Articles smartly. In this blog post I will be showing how to use Article comments, and the steps required to make a comment on an Article.
Generally you would add a comment to an Article when you have received feedback from a customer about the Article, whether it is good or bad feedback, just so you can keep track of comments on the Article easily. While there is also a ‘Notes’ area on the Articles, using Comments to store feedback and changes is a much easier way to manage and read changes or feedback related to an Article.
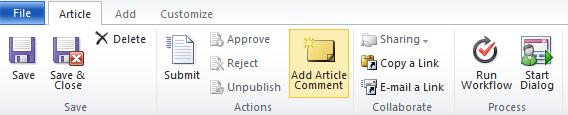
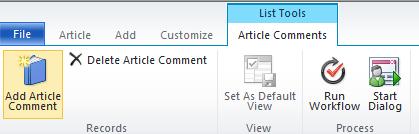
There are a few different ways to add a comment to an Article. The first and most obvious is to open the Article, and click ‘Add Article Comment’ on the ribbon.
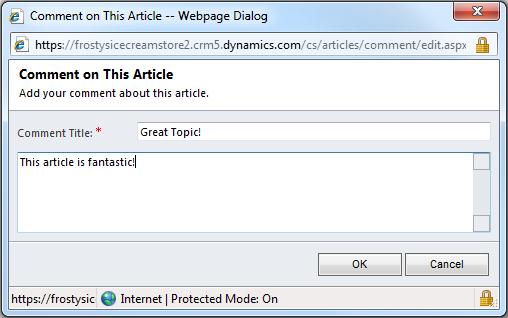
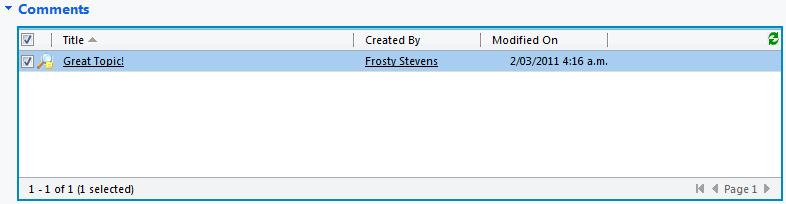
This will then open the ‘Comment on This Article’ dialog, where you can enter a Comment Title, and Description. When you click ‘Ok’ the comment will be added to the Article, and will be displayed under the ‘Comments’ subgrid. This will display all existing comments on the Article.
Another way of adding a comment is by clicking into the Comments subgrid, and selecting ‘Add Article Comment’ from the ‘Article Comments’ tab on the Ribbon. This will perform the same actions as adding a comment from the Article tab.
Finally, when you reject an Article that has been submitted for approval, you will be required to enter a comment describing the reason for rejecting the Article. This will also be displayed in the ‘Comments’ subgrid once it has been rejected.
That’s all there is to adding comments to Articles, my next post will be describing how you can insert an image into your Article.
Category List

Filter by Author
Adam Murchison
Alfwyn Jordan
Arthur Mandisodza
Calum Jacobs
Colin Maitland
David Mochrie
Dominic Liu
Gayan Perera
Harshani Perera
Isaac Stephens
Jaime Smith
Jared Johnson
John Barrencechea
John Eccles
Lauren Withers
Paul Nieuwelaar
Roshan Mehta
Roz Millar
Ryan Blaikie
Ryan Ingram
Sarah Coleman
Sean Roque
Shalane Williams