

Move SQL Azure Database to Local SQL Server
Dinesh Niroshan, 13 April 2015
Exporting Azure SQL Database
In this post, we are going to look at how we can move a database hosted in Microsoft SQL Azure to a local SQL Server. If you attempt this via the Azure Management Portal, you can export the database into blog storage (.bacpac) and then download it. However, this can be time consuming because the export task is queued.
Instead, we can achieve this using SQL Server Management Studio.
- Login to Azure SQL Server from SQL Server Management Studio .Note: you need to add your local IP address to the allowed IP addresses in Azure Management Portal.
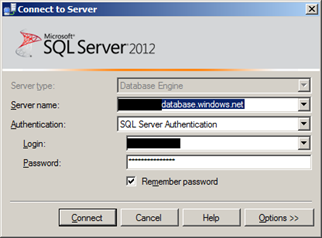
After successfully logged in, expand the databases and select the database you need to export.
- Right click on the selected database and go to "Task -> Export Data-tier Application …"
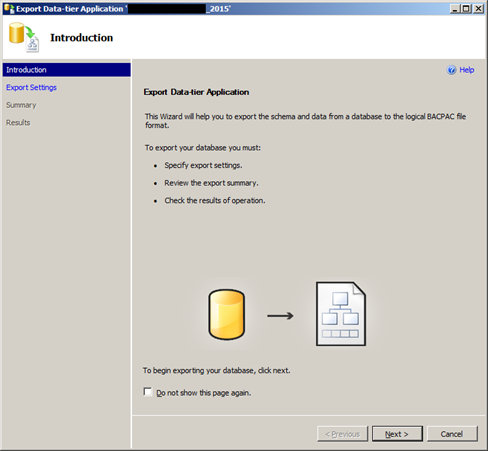
Click next to continue.
- Select "Save to local disk" option and browse to the folder to save .bacpac file.
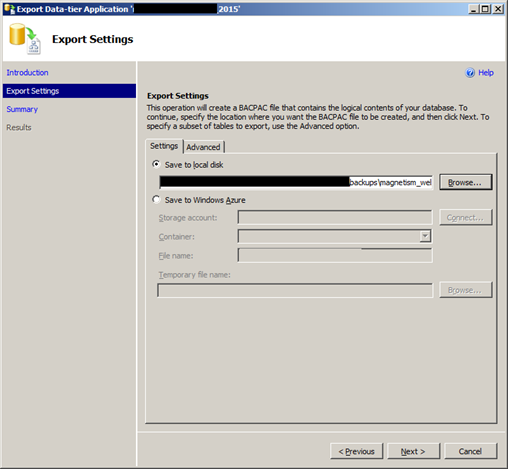
Click next to continue. Then confirm step will appear. Click next again to continue exporting.
- Export progress and the result will be shown as follows.
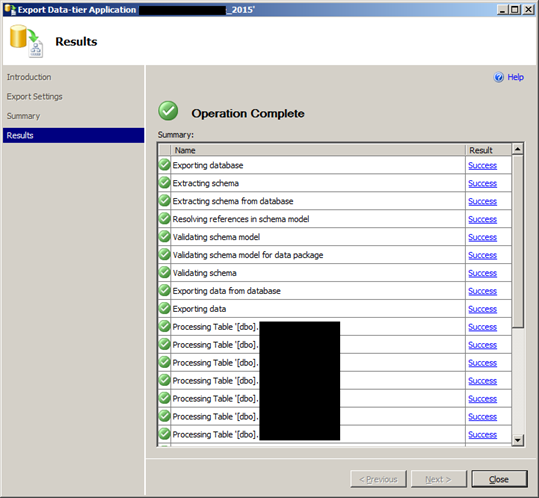
Now exporting is completed. The .bacpac file is created in selected folder. Now it is time to import backup file to your local SQL server.
Import .bacpac file to local SQL Server
Follow the steps to import .bacpac file to local SQL Server.
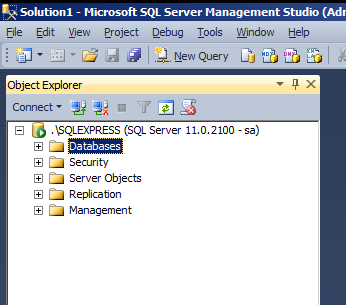
- Login to SQL Server from SQL Server Management Studio. Right click on databases node and select "Import Data-tier Application"
- Import Wizard appears as follows.
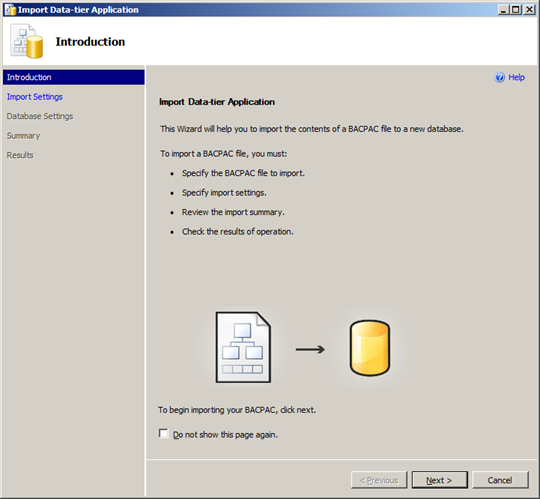
Click next to continue importing.
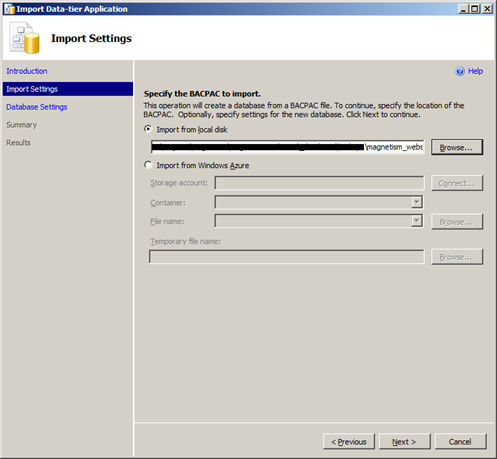
- Select the .bacpac file created in previous step and click next to continue.
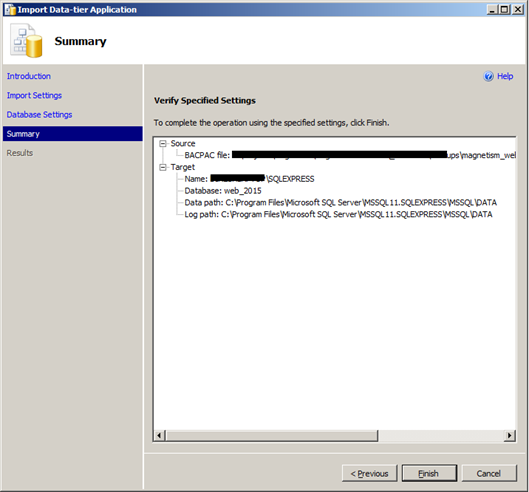
- Now specify the New Database Name which need to be created.
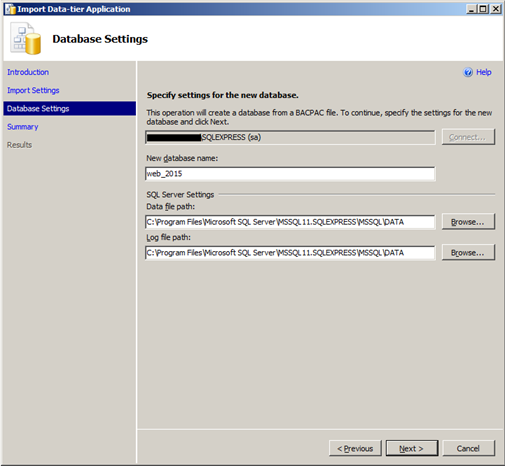
Click next to continue.
- Confirmation step will appear with all settings. Click finish to complete import backup file.
All done! You should now see the SQL Azure database in your local SQL Server.
Category List

Filter by Author
Adam Murchison
Alfwyn Jordan
Arthur Mandisodza
Calum Jacobs
Colin Maitland
David Mochrie
Dominic Liu
Gayan Perera
Harshani Perera
Isaac Stephens
Jaime Smith
Jared Johnson
John Barrencechea
John Eccles
Lauren Withers
Paul Nieuwelaar
Roshan Mehta
Roz Millar
Ryan Blaikie
Ryan Ingram
Sarah Coleman
Sean Roque
Shalane Williams