

How to create a Mail Merge Template for a custom Mail Merge enabled Entity in Microsoft Dynamics CRM 2013
Colin Maitland, 04 February 2014
In this blog I will describe how to create a Mail Merge Template for a custom Mail Merge enabled entity that includes fields from several parent entities.
The Mail Merge Template in this example will be used for generating receipt letters for Donations.
The receipt letter needs to contain Name and Address information from the parent Contact or Account record and donation information from the Donation record. The receipt letter will also contain the name of the related Fundraising Program and Campaign against which the Donation has been recorded.
1. Logon to Microsoft Dynamics CRM using the Microsoft Dynamics CRM for Outlook Client. The Web Client cannot be used to upload Mail Merge Templates to Microsoft Dynamics CRM.
2. Navigate to System, Settings, Templates.
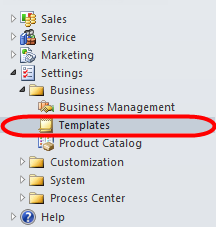
3. Select Mail Merge Templates.
![]()
4. Click New on the Mail Merge Templates command bar.

5. Enter a Name, e.g. Donation Receipt Letter; set the Associated Entity to Donation and then click Save.
Note: The Donation entity is selected as the Associated Entity because we want to run Mail Merges against selected Donations rather than against Contacts or Accounts (Donors) because the contents of the Receipt Letter must be Donation rather than Donor specific.

6. Click the Data Fields button on the Mail Merge Template form to open the Add Columns screen.

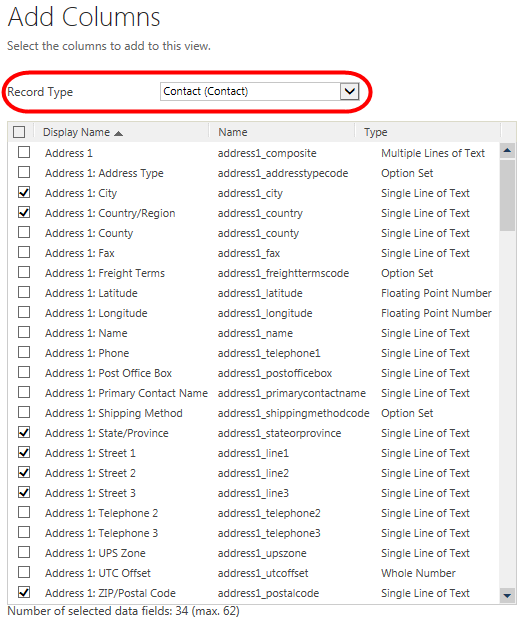
7. From the Add Columns screen you will notice that the Record Type is set to Donation.

8. From the list of Donation fields select the fields that you want to make available as Merge Fields.
Because we want to include the Contact or Account, the Fundraising Program and the Campaign as Merge Fields we have selected these in addition to the Date and Amount fields. You will notice however that the address fields from the Contact or Account do not appear in the list of Donation fields. The steps that follow describe how to select the Address fields.

9. Change the Record Type to Account to display the list of Account specific fields and then select the Account fields you want to make available as Merge Fields such as the Address. If you find that the Record Type field is disabled, click anywhere in the fields list below to activate it.

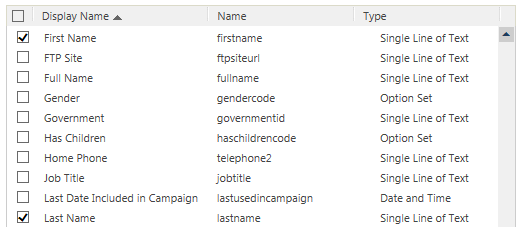
10. Change the Record Type to Contact to display the list of Contact specific fields and then select the Contact fields you want to make available as Merge Fields such as the Address, First Name and Last Name etc. If you find that the Record Type field is disabled, click anywhere in the fields list below to activate it.
11. Click OK to close the Add Columns screen and return to the Mail Merge Template screen.
12. Click Save.
![]()
13. Click Create Template in Word.
![]()
14. If Microsoft Word is already running then the Microsoft Word Mail Merge Template will appear as a flashing icon in the Windows Task Bar. In this case click the icon to maximise it.

14. The Mail Merge Recipients screen will be displayed. Click OK to close it.

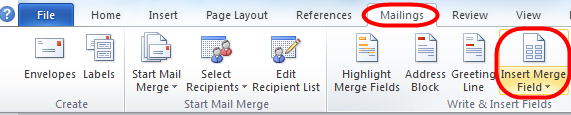
16. You may choose to select the Mailings tab and then select Insert Merge Field to display the list of Merge Fields.

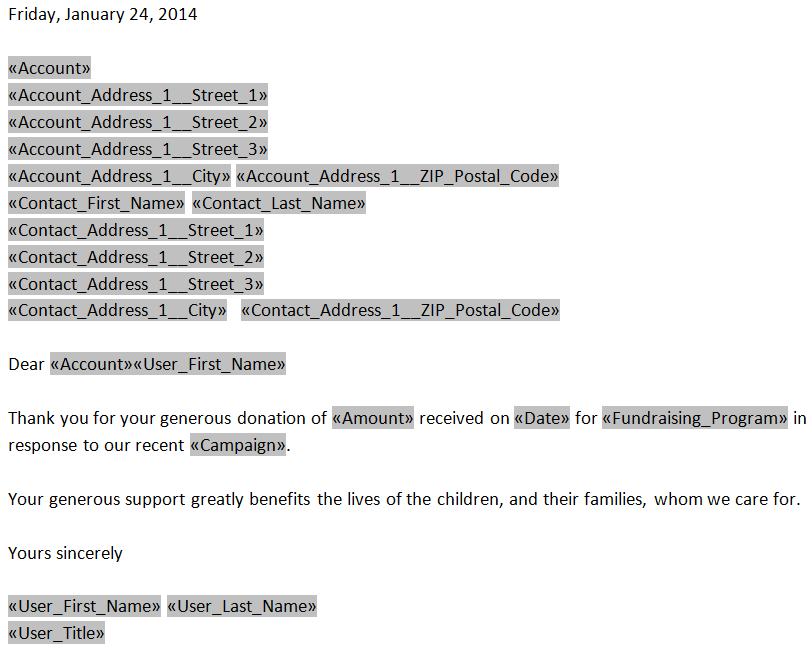
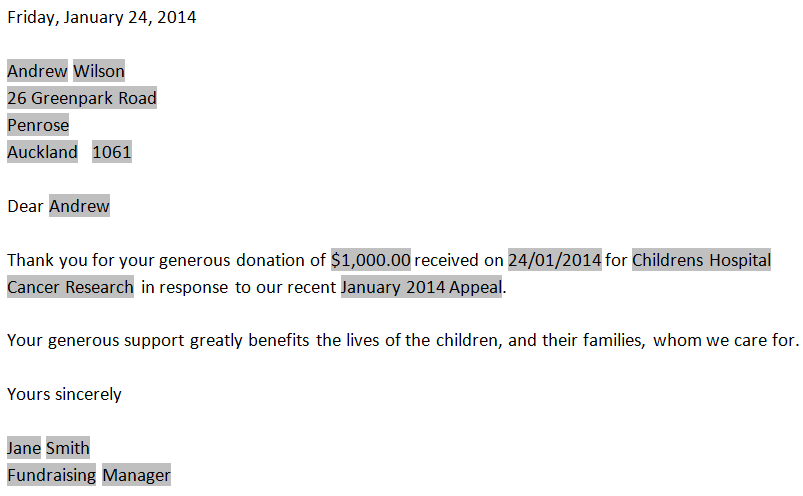
17. Using the Microsoft Word Mail Merge Wizard navigate through the steps and complete the design of your Mail Merge Template, including adding text, graphics and Merge Fields and then preview it.
![]()
Note: In this example it is assumed that a Donation will be related to either an Account or a Contact but not both, therefore either the Account or the Contact will be blank and the Account or Contact specific fields will be suppressed by the Mail Merge accordingly. Microsoft Merge Mail Merge Rules may also be used to apply other conditions and to the Merge Fields.


18. Using the Microsoft Word Mail Merge Wizard move to the Complete the Merge step and then at the last step click Upload Template to CRM.
![]()
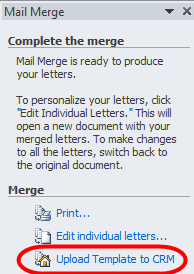
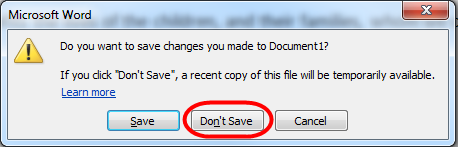
19. Close Microsoft Word and click OK and then Don’t Save at the following prompts:

20. The Microsoft Word Mail Merge Template document will be added to the Microsoft Dynamics CRM Mail Merge Template record as a File Attachment.

21. Click Save & Close to close the Microsoft Dynamics CRM Mail Merge Template record.

Note:
You may choose to Edit, Share, Deactivate/Activate, Make Available to Organisation or Make Personal by selecting it and then select the desired action from the More Actions menu.

Category List

Filter by Author
Adam Murchison
Alfwyn Jordan
Arthur Mandisodza
Calum Jacobs
Colin Maitland
David Mochrie
Dominic Liu
Gayan Perera
Harshani Perera
Isaac Stephens
Jaime Smith
Jared Johnson
John Barrencechea
John Eccles
Lauren Withers
Paul Nieuwelaar
Roshan Mehta
Roz Millar
Ryan Blaikie
Ryan Ingram
Sarah Coleman
Sean Roque
Shalane Williams