

Translating Address Fields in Dynamics Microsoft CRM 2013
Colin Maitland, 28 October 2013
With the release of Microsoft Dynamics CRM 2013 a new composite address field and related composite address control for displaying and editing addresses has been added to Accounts, Addresses, Competitors, Contacts, Invoices, Leads, Orders, Quotes and Users. A composite address field has not been added to Business Units or Sites.
The information forms for most of these entities no longer display the individual address fields but instead display the composite address field.

The composite address control for editing the address, however, displays the individual address fields:
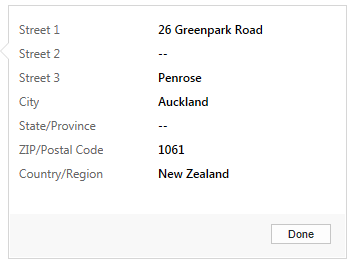
The default display names for the individual address fields are Street 1, Street 2, Street 3, City, State/Province, ZIP/Postal Code and Country/Region. If is often desirable to have some or all of these translated. For example:
| Before Translation | After Translation |
| Street 3 | Suburb |
| State/Province | Region/State |
| ZIP/Postal Code | Postcode |
| Country/Region | Country |
The translated display names will then be used instead of the default display names in all the locations where the individual address fields are displayed in Microsoft Dynamics CRM 2013 with the exception of the composite address control. The display names on this control cannot currently be changed.
The following is list of many of the locations in Microsoft Dynamics CRM 2013 where address fields may be displayed:
• For Business Units, More Addresses and Sites the individual Address fields are displayed. If desired the Address form may be customised to display the composite Address field instead of the individual address fields.

• For Mobile Forms and Quick View Forms either the composite address field or the individual address fields may be displayed.
• For Quick Create Forms only the individual address fields may be displayed:
• For System Views and Personal Views either the composite address field or the individual address fields may be displayed.

![]()
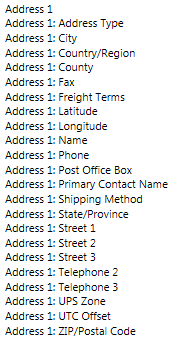
• When using Advanced Find, the Chart Designer, the Process Designer or the Reports Wizard the individual Address fields are displayed for selection as follows:
• On Reports either the composite address field or the individual address fields may be displayed.
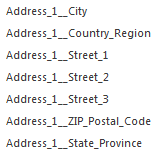
• When using Export to Excel the individual Address fields if exported are displayed as follows:
![]()
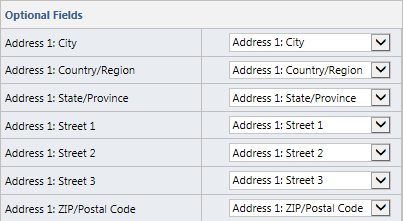
• When using the Data Import Wizard the individual Address fields, if imported, are displayed for mapping as follows:
• When using Mail Merge the individual Address fields are displayed for selection as follows:
• When using the Merge Records Wizard the individual address fields are displayed on the Merge Records dialogue.
The following steps describe how a System Administrator or System Customiser may translate the display names for the individual address fields using the Default Solution. Note: Best practice is to add only those entities with address field display names to be translated to a specific solution for this purpose instead of using the Default Solution.
1. Navigate to Microsoft Dynamics CRM, Settings, Customisations.


2. Select Customise the System.

3. Click Export Translations on the toolbar.
4. Click OK when prompted to continue.

5. Select Save as, when prompted after a short delay, to continue.

6. From the Save As window, browse to a location to save the exported translations to and then click Save.

7. Locate and extract the contents of the zipped translations file:
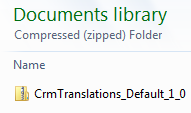

8. Double-click the extracted CrmTranslations.xml file to open it with Microsoft Excel.
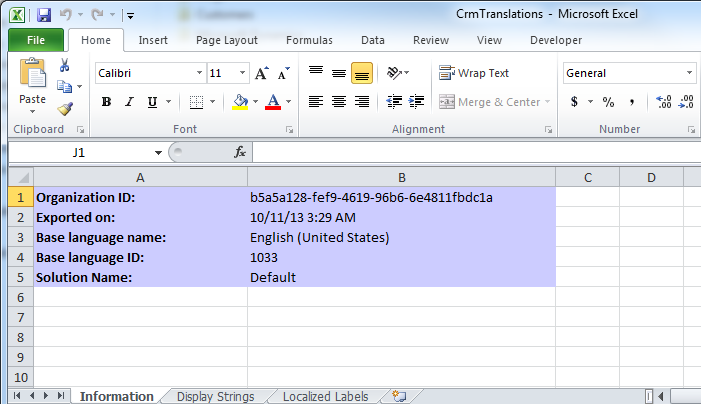
9. Select the Localized Labels tab.

10. Click Unprotect Sheet on the Review tab of the Ribbon Bar.

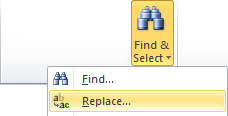
11. Use the Find and Replace functionality to search for and replace the following:
| Search For | Replace With |
| Street 3 | Suburb |
| State/Province | Region/State |
| ZIP/Postal Code | Postcode |
| Country/Region | Country |
| ZIP Code or postal code | Postcode |
| State or province | Region/State |
12. Save the CrmTranslations file. Note: Select Yes if prompted as follows:

13. Exit from Microsoft Excel.
14. Create a new zip file from the following files:
E.G.

15. Return to your previous location in Microsoft Dynamics CRM 2013 and select Import Translations from the toolbar.
![]()
16. Browse to and select your zip file and then click Import.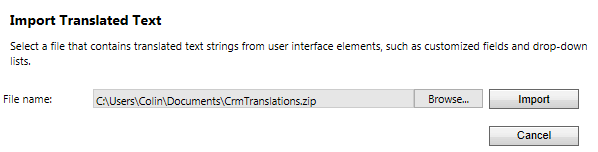
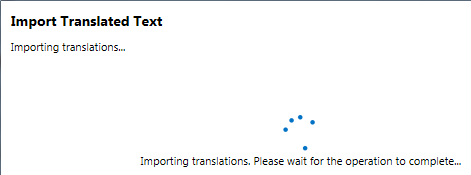
17. The translations will now be imported.
18. When prompted, click Close.

19. Click Publish All Translations on the toolbar.

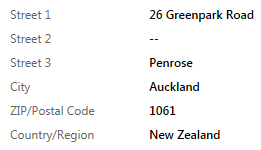
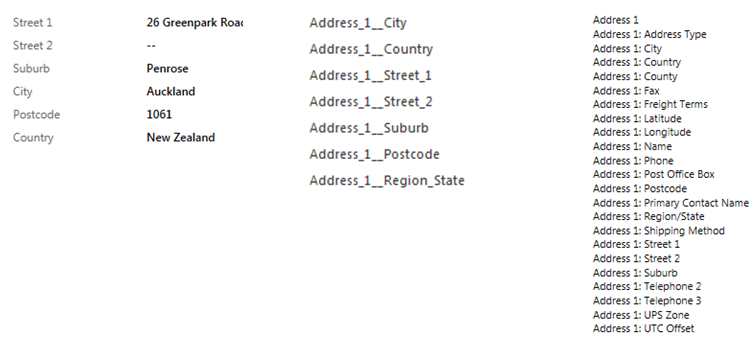
With the exception of the individual address field display names on the composite address control the translated address fields display names will now be displayed wherever they appear in Microsoft Dynamics CRM 2013; e.g.
Category List

Filter by Author
Adam Murchison
Alfwyn Jordan
Arthur Mandisodza
Calum Jacobs
Colin Maitland
David Mochrie
Dominic Liu
Gayan Perera
Harshani Perera
Isaac Stephens
Jaime Smith
Jared Johnson
John Barrencechea
John Eccles
Lauren Withers
Paul Nieuwelaar
Roshan Mehta
Roz Millar
Ryan Blaikie
Ryan Ingram
Sarah Coleman
Sean Roque
Shalane Williams