

Configuring the Chat Interface in Parature
Ahmed Anwar, 25 March 2015
Parature gives the ability to change the look and feel of the Live Chat interface to meet your company's design/colour scheme. The Parature Live Chat interface is shipped with default settings which can be easily customised to suit your branding.
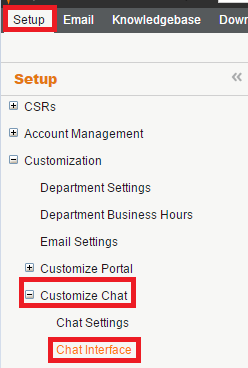
To start customising the chat interface, go to Setup and expand the Customization node. Expand Customize Chat and then click on Chat Interface.
The Chat Interface window lets you customise the following components:
- Chat Window Text
- Chat Window Images
- End Chat Text
- End Chat Images
- System Messages
- Preview Chat Interface
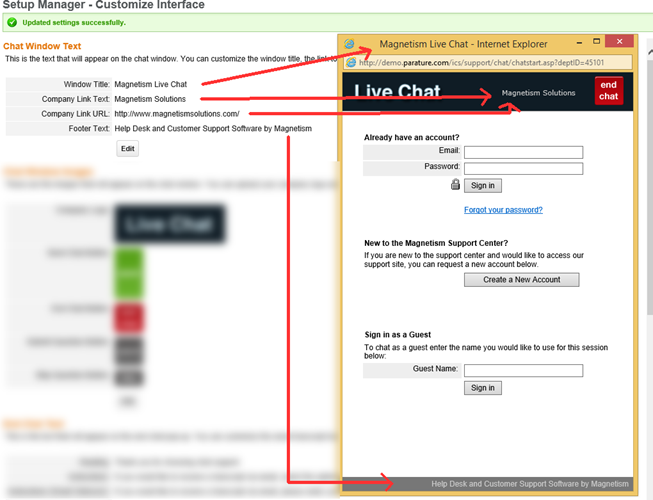
Chat Window Text
Customizing chat window text lets you change the window title, company link text and footer information. Click on the Edit button to modify the text that is displayed in each area.
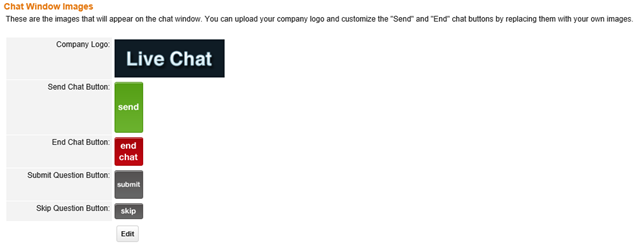
Chat Window Images
In this section you can easily replace existing images. For example, you can replace existing images with new images that have two languages or with self-explanatory icons.
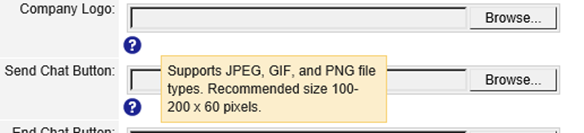
Note that you are restricted to use JPEG, GIF and PNG images.
End Chat Text
This section modifies text that appears when the visitor ends the chat session. Perhaps, you may want to add extra lines for another language in case you are targeting multi-national customers.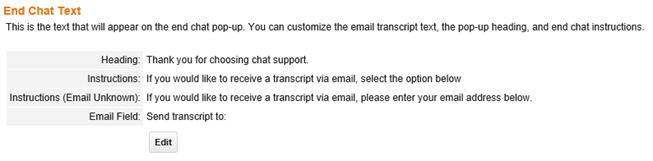
End Chat Images
This lets you replace the Cancel and Done buttons that appear when a user wants to end a chat session.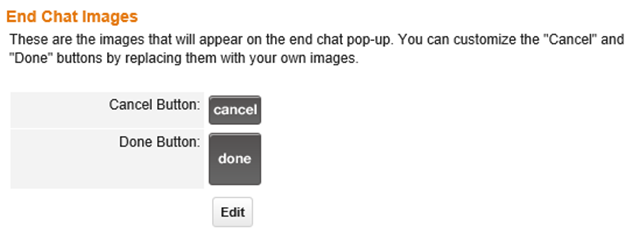
System Messages
A number of system messages can also be modified which includes error or warning messages that occur if something goes wrong during the chat session.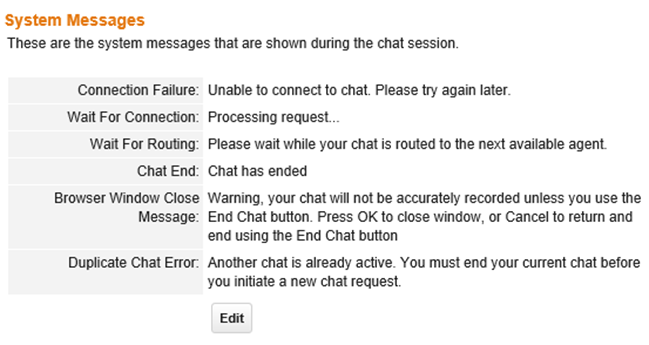
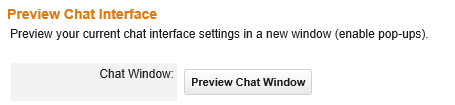
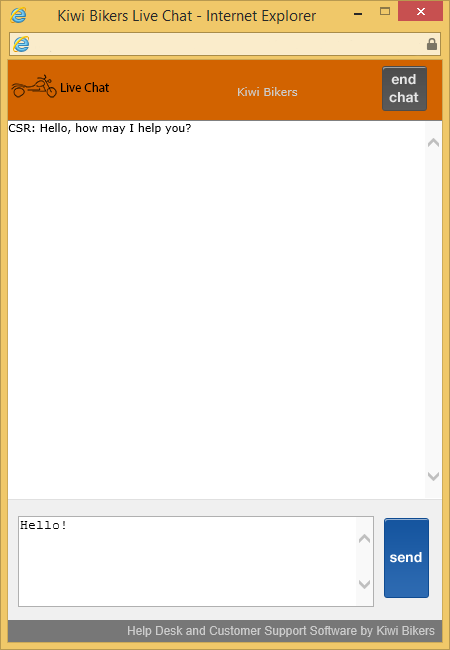
After finishing your editing, you can test the Chat window by clicking on Preview Chat Window at the end of page.
Here is an example of what the chat window looks like when modifying the default images.
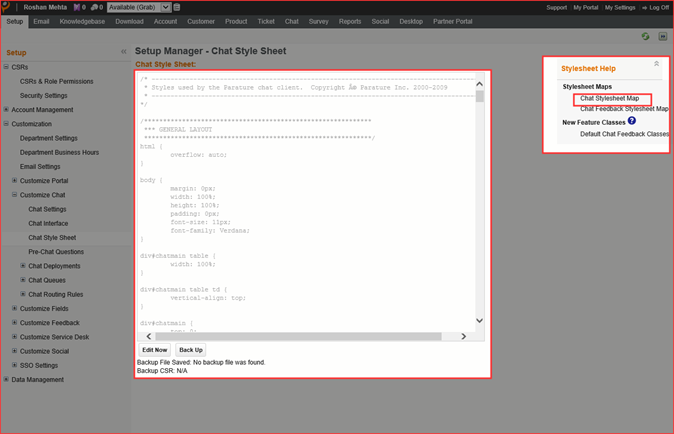
Chat Style Sheet
Customizers also have the ability to modify the default style sheets to apply different colour schemes, fonts etc. To do this, click on the Chat Style Sheet option under the Customize Chat menu.
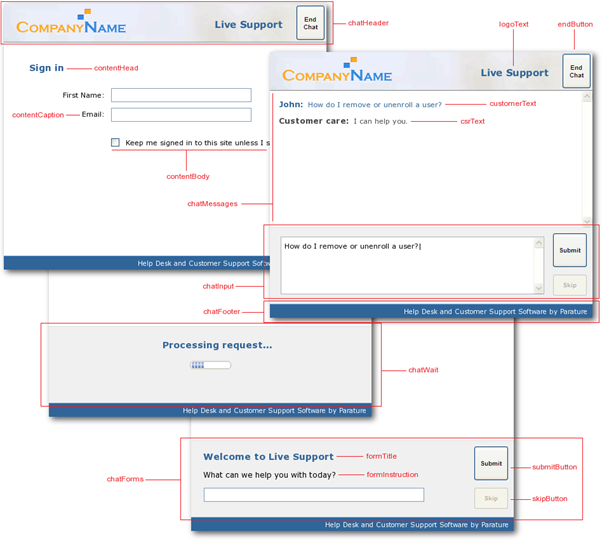
Here is a screenshot of the Stylesheet Map of the CSS classes that you can control.
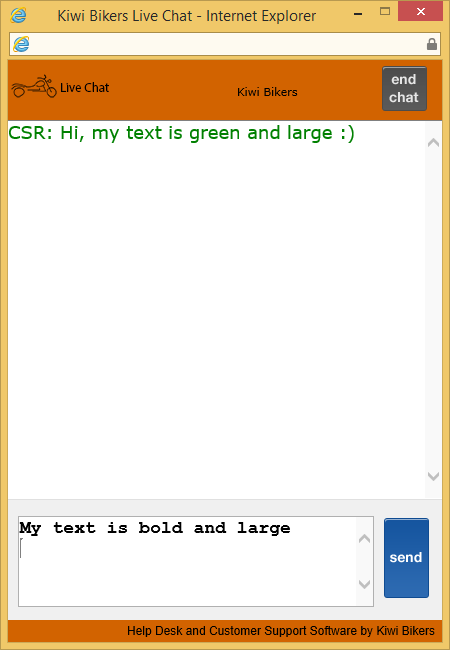
Example
In the following image I changed:
- The font size and color of the chat input.
- The font size and color of the chat messages.
- The color of the chat header from black to orange to match the company logo.
- The background color of the footer.
Category List

Filter by Author
Adam Murchison
Alfwyn Jordan
Arthur Mandisodza
Calum Jacobs
Colin Maitland
David Mochrie
Dominic Liu
Gayan Perera
Harshani Perera
Isaac Stephens
Jaime Smith
Jared Johnson
John Barrencechea
John Eccles
Lauren Withers
Paul Nieuwelaar
Roshan Mehta
Roz Millar
Ryan Blaikie
Ryan Ingram
Sarah Coleman
Sean Roque
Shalane Williams