

Microsoft Dynamics CRM 2011, Using Mail Merge to create labels
Vlad Arabajiev, 27 December 2011
I will show you how to create Labels for your Contacts from Dynamics CRM 2011. This is done by using Mail Merge. It can be quite useful when you have a large amount of Contacts in your CRM Environment and need to capture their contact details on a Word document. Microsoft Word then further allows you to customize these records and print them in a format of your choice. This practise is particularly useful when running promotional campaigns and events.
Let’s make a start by opening Dynamics CRM 2011.
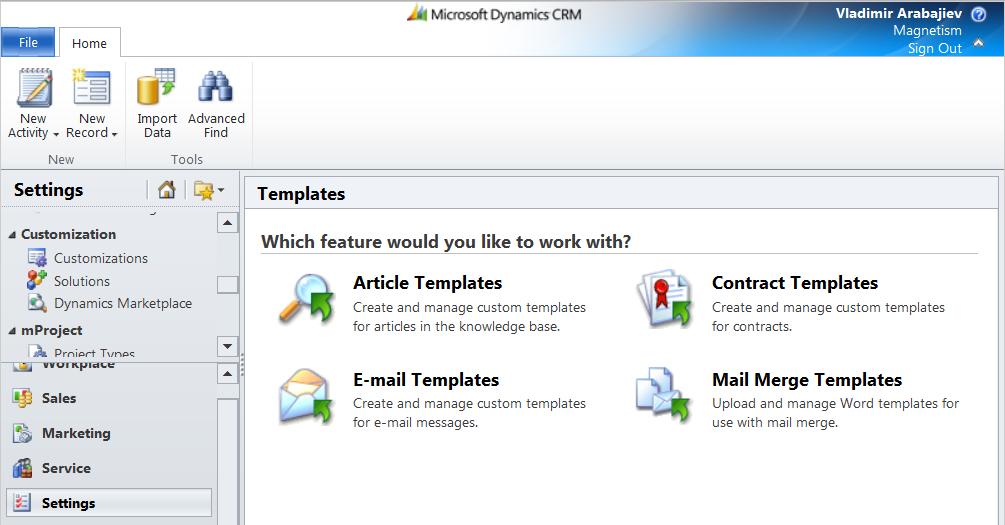
The next step is to navigate to your Contacts and select your desired records, then go to Add and select Mail Merge.

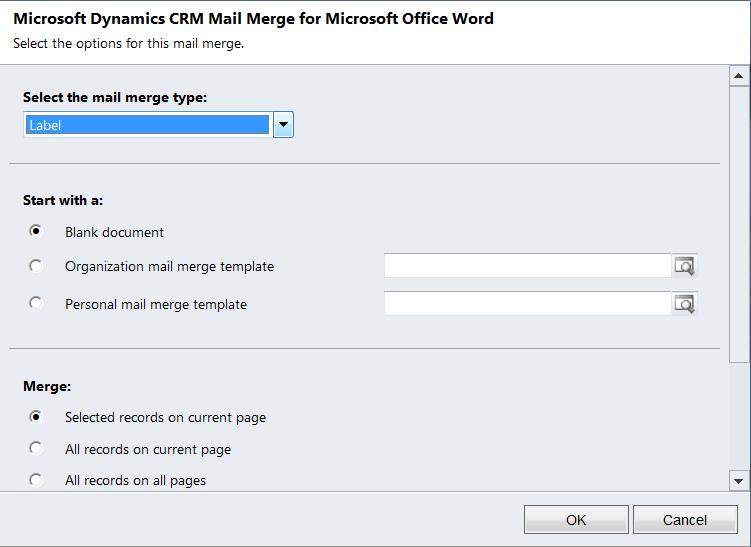
On the next page, select the Label Merge Type, and Start with a blank document for the selected records on the page. For now don’t worry about adding extra Data Fields so click OK.
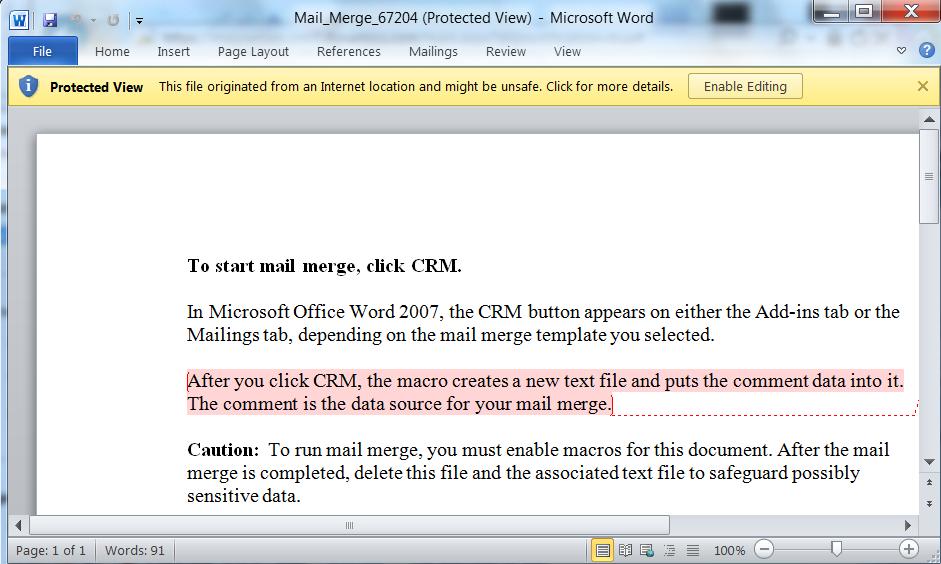
This will open Word, to proceed with our Label click Enable Editing (This usually happens when you use Microsoft Office 2010)
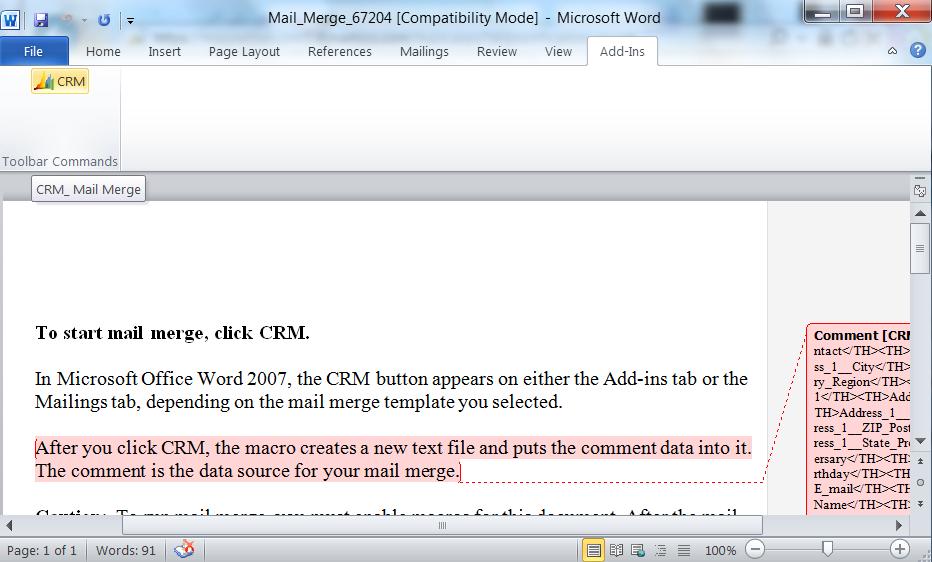
The CRM button will appear either under Add-ins or Mailings Tab, once you have found it click it and allow for the records to be imported.
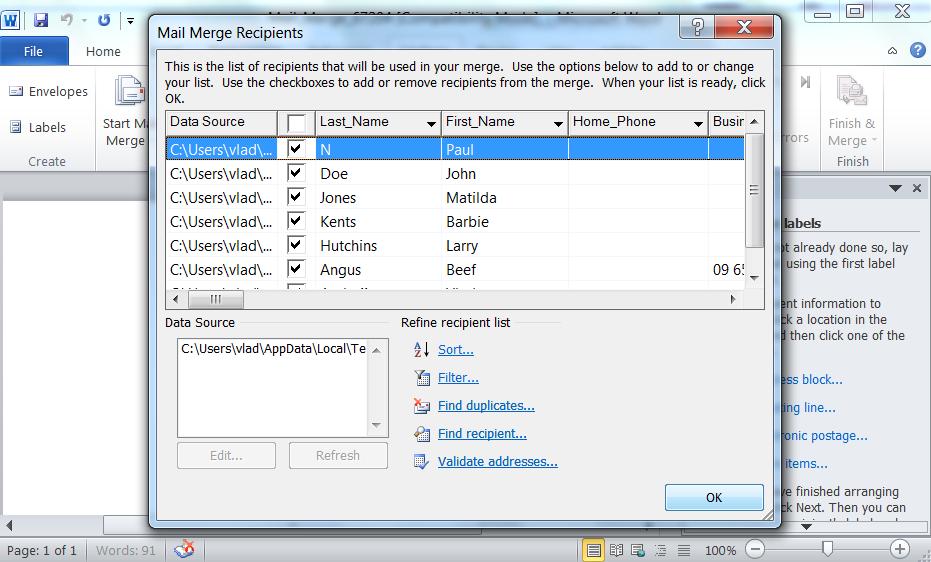
This window shows our chosen records. These are the Contacts that we shall use in our Mail Merge. For now you don’t need to worry about filtering your list, so hit OK to proceed to the next page.
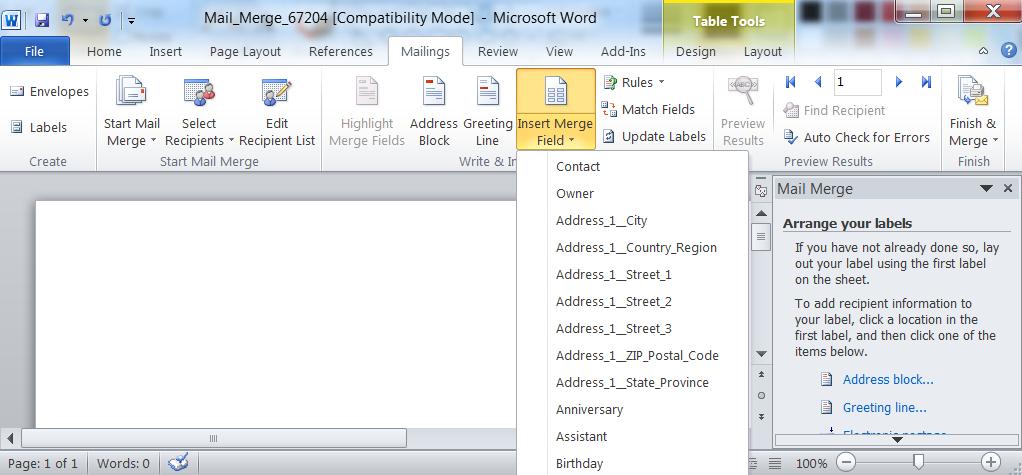
Now we are able to add the information we want to display on those labels. To do this click Insert Merge Field. There you will find all the fields that are selected for display from the Contact Entity. Note that if some are left blank in a specific Contact, these will also be blank on the Label. Be sure to capture as much information as possible.
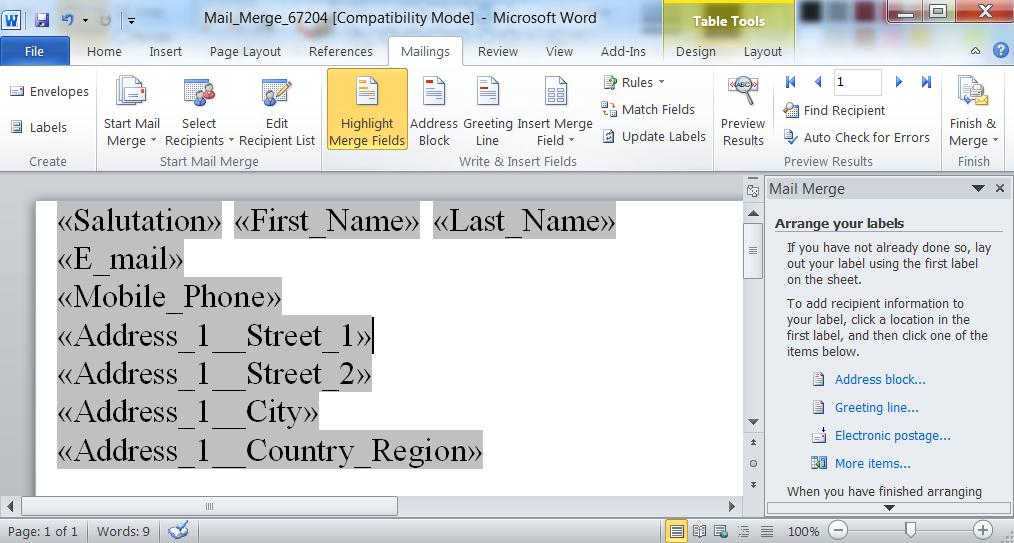
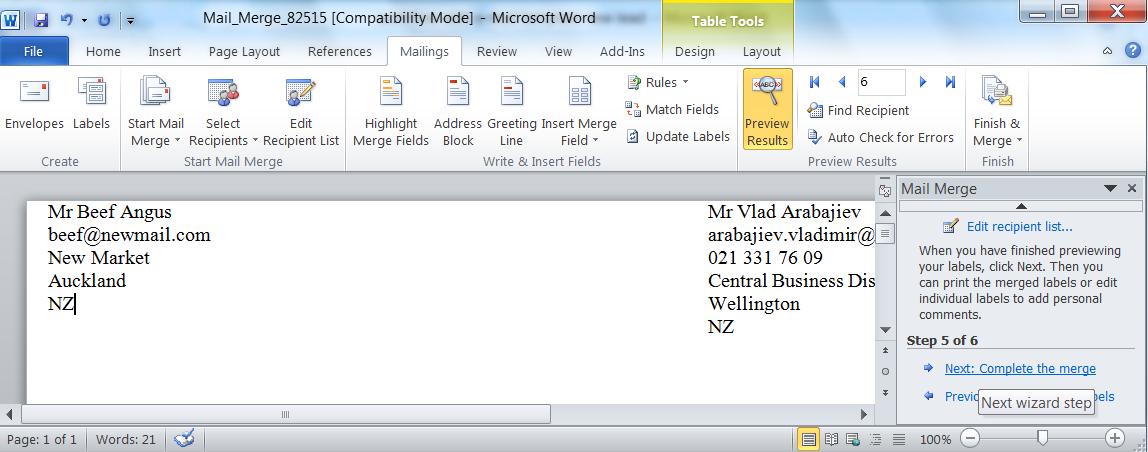
If you click Highlight Merge Fields, you will see all the fields that we have imported. Then you can click Preview Results to see whether the displayed information is correct.
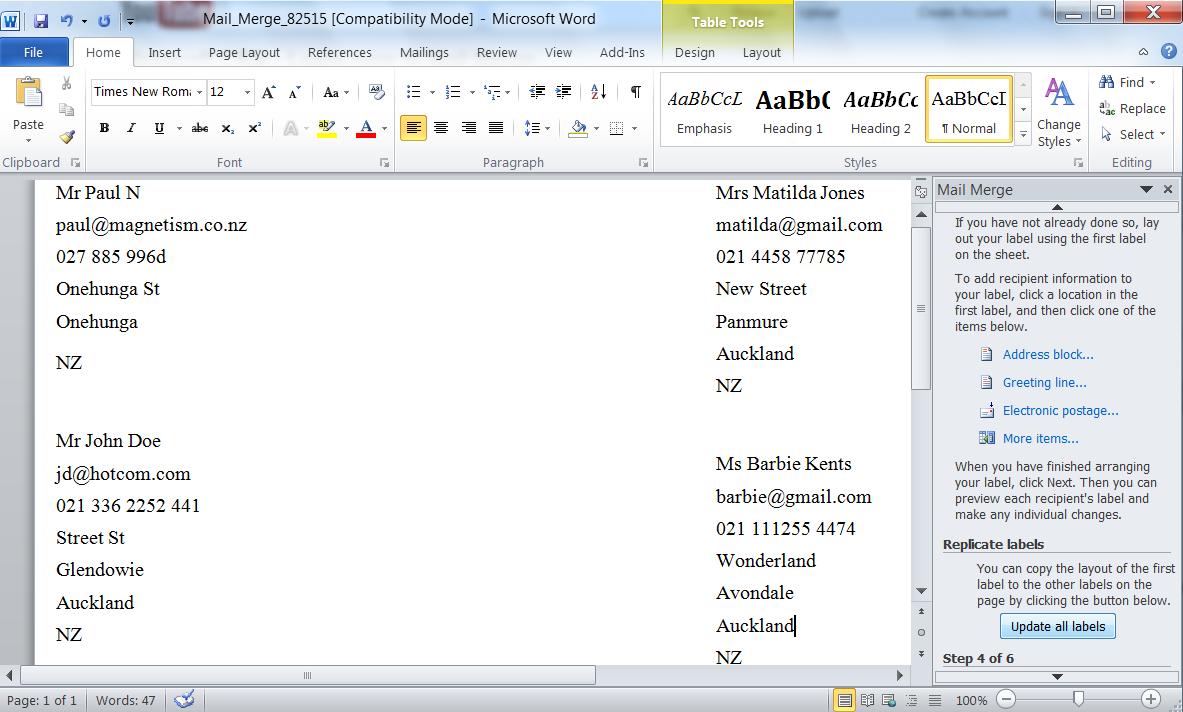
Once you are happy with these values, you can click Next and you can check the rest of your contacts.
We are almost there folks. The next step is to click on the Update all labels button, on the right hand side at the bottom of the page. This will create the rest of the labels with the fields that we have used for our very first label.
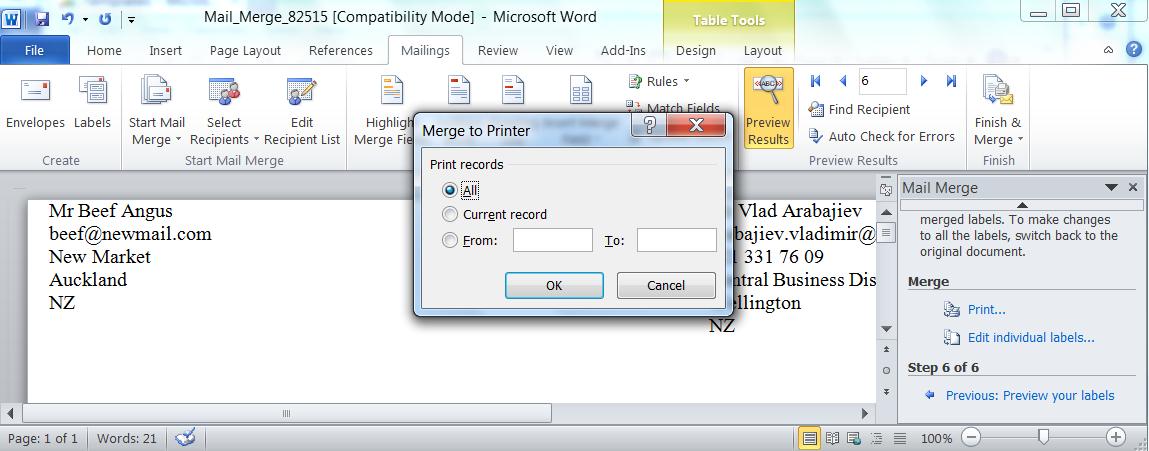
Once that is done click Complete the merge, then you have two options Print or Edit.
This concludes the process. Now you know how to create labels with Mail Merge. I hope you found it helpful.
Category List

Filter by Author
Adam Murchison
Alfwyn Jordan
Arthur Mandisodza
Calum Jacobs
Colin Maitland
David Mochrie
Dominic Liu
Gayan Perera
Harshani Perera
Isaac Stephens
Jaime Smith
Jared Johnson
John Barrencechea
John Eccles
Lauren Withers
Paul Nieuwelaar
Roshan Mehta
Roz Millar
Ryan Blaikie
Ryan Ingram
Sarah Coleman
Sean Roque
Shalane Williams