
How to create Aged Debt Report in Dynamics CRM 2011
Megha Kainth, 19 October 2011
In my previous blog post I have elaborated the process and procedure of how to create a month to date invoice report in Dynamics CRM 2011. In this blog post, I will explain more about the reporting features in Dynamics CRM 2011. As we all know the importance of sending an invoice once the work has been done and also, it is very important to know who has not paid their invoices in order to do the correct follow up with them for getting the company’s debt sorted. I will explain the process of creating an Aged Debt Report by using Report Wizard.
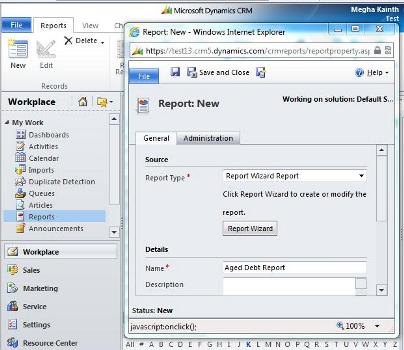
To create this report we will navigate to Workplace and Click on ‘Reports’ >> Click on New to create a new report. Select Report Wizard Report from the drop down list as Record Type. Choose a name for your report and then click on ‘Report Wizard’.
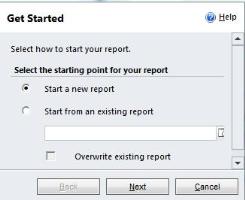
You have the option to start from an existing report (Month to Date Invoice Report) and make necessary changes to the existing report criteria or you can start with a new report. I have chosen to start with a new report. Click on ‘Start a new report’ and click ‘Next’.
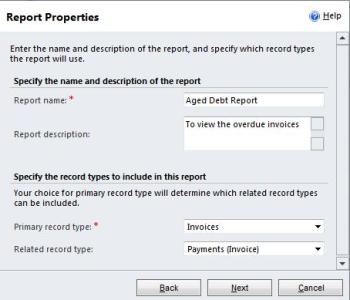
Type the Report name and in report description you can write a brief description about your report. From the drop down menu select ‘Invoices’ as ‘Primary record type’ >> click ‘Next’. At Magnetism, we have developed a product called ‘Xero Connector’ which provides smooth integration between Dynamics CRM and Xero Online Accounting Software. With Xero Connector you can track partial payments by simply selecting Payments (Invoice) as ‘Related record type’.
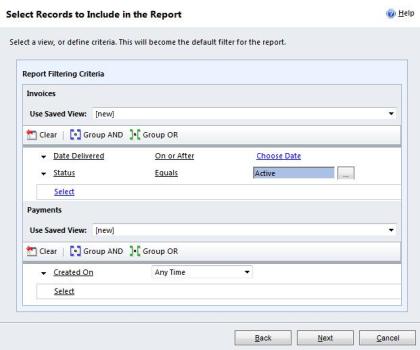
The next screen will take you to the report filtering criteria. You can select the appropriate filtering criteria as per your business requirements. In this example, I have selected the criteria as ‘Date Delivered’ à ‘On or After’ and status as ‘Active’ for generating the report of those invoices which are overdue and are in active status. I have defined criteria for Payments as ‘Created On’ as I also want to track the partial payments It will be worth to mention here that you will not be able to see Payment record type if you do not have ‘Xero Connector’ installed in your Dynamics CRM. Once you finished selecting criteria, click on ‘Next’.
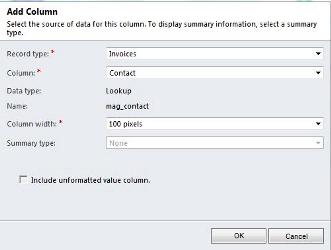
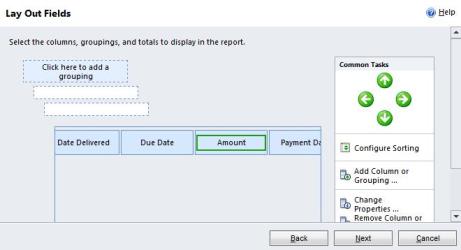
Now you can define the layout of columns for your report. Choose the column as per your business requirements and select the appropriate width. Select the Record Type as Invoices and choose the correct column from the drop down list.
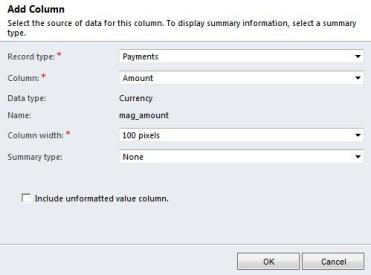
To get the Payment details in your report, Select Payments as record type and select the proper column from the dropdown list. Please note you will not be able to see Payments as Record type if you do not have Xero Connector installed.
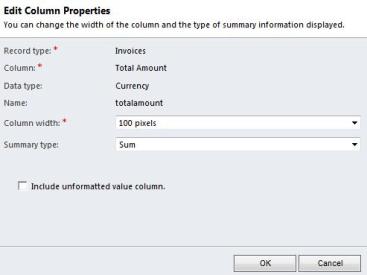
You can select Sum from the drop down list as Summary Type if you want to see the total of a particular column such as Total Amount, Total Detail Amount.
Choose the correct layout fields for your report. You can change the column properties to make it bigger or smaller. Click on ‘Next’ once you are done.
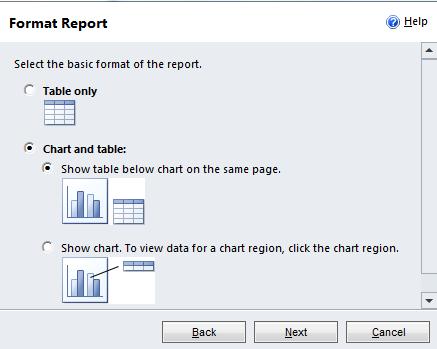
Once you have finished designing the layout of your report, you can select format for your report as ‘table format’ or ‘table and chart format’. For this report, I have selected ‘table and chart format’ >> Click on ‘Next’ Button.
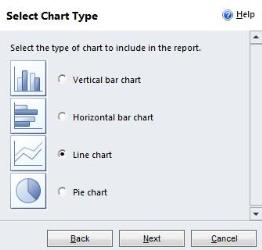
Select the applicable chart type from the available options and then click on ‘Next’.
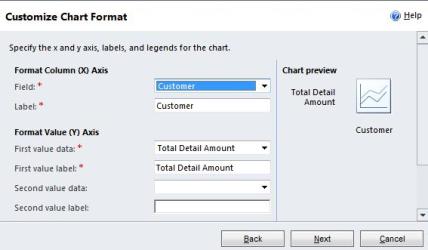
You can customize your chart format. Select the right field and label for chart from the drop down list. Click on Next.
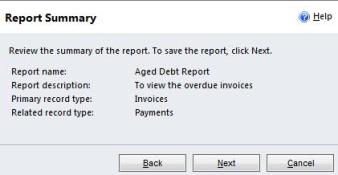
Now, you will be able to see the Report Summary. Check the report summary and if everything is OK Click on Next or you can go back if you want to make any other changes to your report.
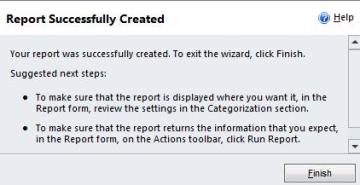
Here is the screenshot from final screen saying your report is successfully created. Click on Finish.
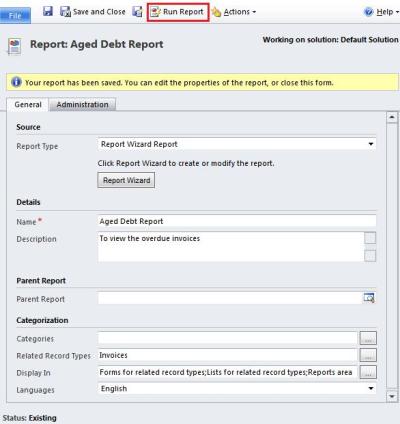
Your Report is now saved and status is changed to ‘Existing’. Click on Run Report to view the result of report.
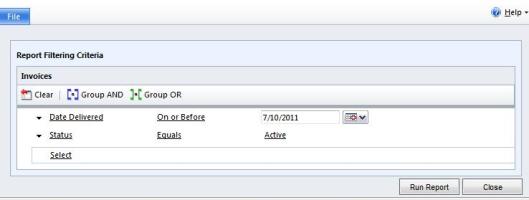
You can select the date criteria for overdue invoices and click on run report to view the outcome.
Here is the final outcome from the report we have just created.
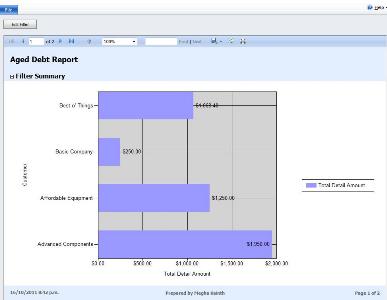

You can save your report by clicking on save button and you can save this report in PDF, Word or other available format.
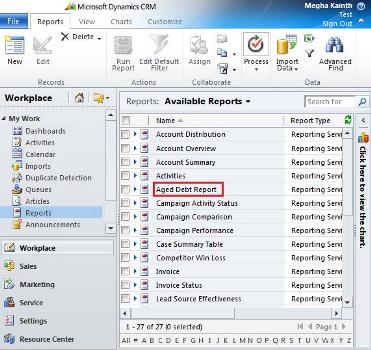
Now if you navigate to Workplace and click on Reports you will notice Aged Debt Report is accessible there. You can run this report anytime to create an Aged Debt report by clicking on Aged Debt Report. To run your report, click on the ‘Run report’ option available on the bottom of report wizard.
You can edit the filtering criteria of you report anytime as your business requirement changes.
Category List

Filter by Author
Adam Murchison
Alfwyn Jordan
Arthur Mandisodza
Calum Jacobs
Colin Maitland
David Mochrie
Dominic Liu
Gayan Perera
Harshani Perera
Isaac Stephens
Jaime Smith
Jared Johnson
John Barrencechea
John Eccles
Lauren Withers
Paul Nieuwelaar
Roshan Mehta
Roz Millar
Ryan Blaikie
Ryan Ingram
Sarah Coleman
Sean Roque
Shalane Williams