

Dynamics CRM 2011 – Importing Data into CRM for the End User
Mark Smith, 24 October 2010
Getting data into CRM is a common requirement for most people working with Dynamics CRM. The Microsoft Dynamics CRM Product has done a fantastic job of improving this for CRM 2011. Many enhancements have made, well done team!
Steps to Import:
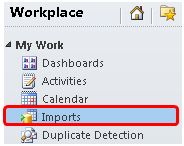
1. Select Import from the Workplace Menu
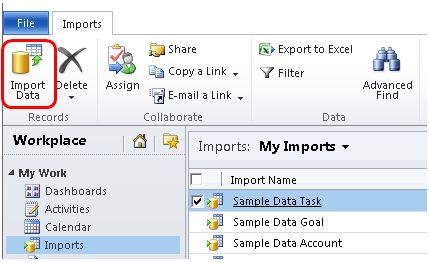
2. Select Import Data from the Ribbon Menu
3. You will be presented with the following Import Wizard – Starting with Upload Data File
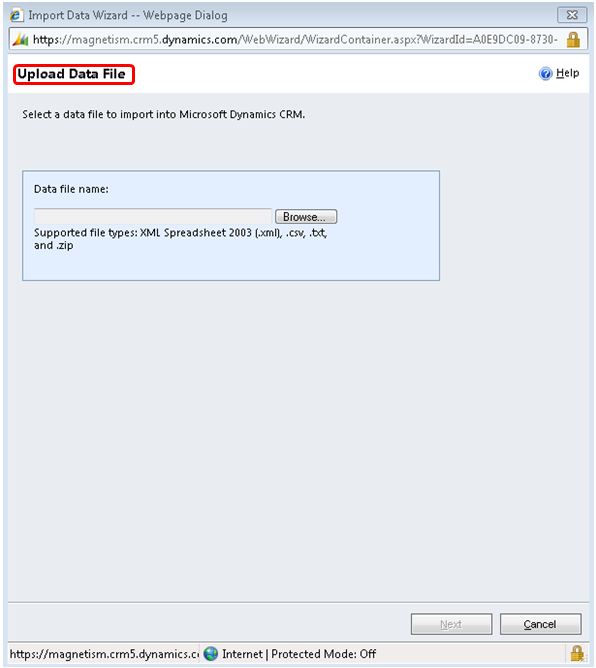
The following Data Types can be imported:
a. XML spreadsheet 2003 and above (.xml)
b. Comer Separated Values (.csv)
c. Text (.txt)
d. Compressed file (.zip)
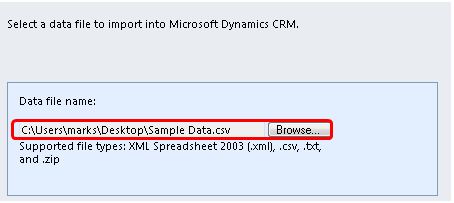
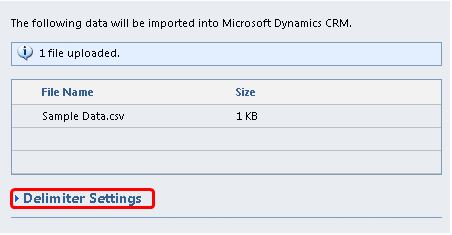
4. For this example I will import a simple Comer Delimited file also known as a Comer Separated Value (.csv) file. Browser to where the file is that you wish to import, in my case on my desktop.
By default you will be presented with this view of the import. However note the following settings than can be edited if you click on the claret to the left of “Delimiter Settings”
You should then see the following view.

Note the following Field Delimiter: are available (used to separate each cell in a row):
a. Comma (,)
b. Colon (:)
c. Semicolon (;)
d. Tab Character (\t)
Example: Company Name,Address,City,First Name,Last Name
And also the Data Delimiter: are available (used to group data)
a. Quotation mark (“)
b. Single Quotation mark (‘)
c. None
Example: Company Name,Address
"Magnetism, Solutions, Ltd","26 Green Park Road, Penrose, 1061"
NOTE: If you upload a file in either XML spreadsheet 2003 or .zip this option will not be available
Also Note: You can specify that the First row contains the column headings if this is applicable.
5. Next you will be asked to specify a data map if Dynamics CRM does not understand the mapping of the imported file
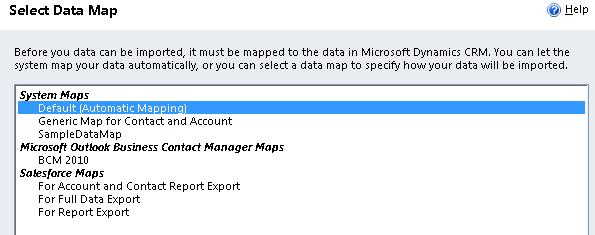
Based on the CSV I am importing I am given 7 options to carry out data mapping:
a. System Maps
i. Default (Automatic Mapping)
ii. Generic Map for Contact and Account
iii. SampleDataMap (Map will automatically be created by import)
b. Microsoft Outlook Business Contact Manager Maps
i. BCM 2010
c. Salesforce Maps (Yes this is Salesforce.com maps)
i. For Account and Contact Export
ii. For Full Data Export
iii. For Report Export
So here is what the help section of Microsoft Dynamics CRM 2011 says about the mapping:
The following data maps are provided with Microsoft Dynamics CRM Online:
| Generic Data Maps | When to Use |
| Default | Use this map to let Import Data Wizard automatically map the files and columns. For automatic mapping to work:
The map identifies the matching Microsoft Dynamics CRM Online record type and fields by comparing the display names with the files you have uploaded for import and the column names. If Microsoft Dynamics CRM Online cannot map any file or column, the Import Data Wizard shows the mapping pages so you can manually map the unmapped files and columns. |
| Generic Map for Contact and Account | Use this map when your source file contains records for contact and account record types, and where Contact is the primary record type. |
| Data Maps for Specific Sources | When to Use |
| For Full Data Export | Use this map when you have obtained your data using the Full Data Export feature of Salesforce.com. The data that is obtained using this option is available in a .zip file containing a .csv file for each Salesforce.com object. |
| For Report Export | Use this map when you have obtained your data using the Report Export feature of Salesforce.com. The data that is obtained using this option is available in individual .csv files. You can compress all .csv files in a single .zip file and import the data for all record types into Microsoft Dynamics CRM Online using a single import. |
| For Contact and Account Report Export | Use this map when your source file contains both contact and account records from Salesforce.com and where Contact is the primary record type. |
| Microsoft Outlook Business Contact Manager 2010 Map | Use this map when your source files contain data that is obtained from Microsoft Outlook Business Contact Manager 2010. |
| Custom Maps | When to Use |
| Custom maps | Use a custom map when you want to import data from a source similar to one for which you previously have created a data map. Custom maps are customized data maps created to import data from a specific source. When you use any data map and change the record type or field mapping, you can save the customized map settings as a new data map. These customized data maps are listed under Custom Maps. |
6. Next you will be present with the following IF Dynamics CRM cannot automatically map the data to the correct entity.
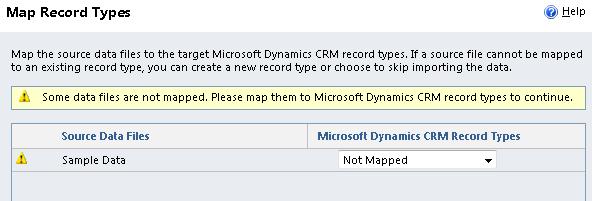
Note you have 3 actions or specify a record type to map too.
a. Not Mapped (selected by default when data is not mapped automatically)
b. Create New (this will allow you to create a new entity to map too)
c. Ignore (this will skip importing the data file (note sure why this is needed as yet))
d. OR Specify the record type (allows you to specify the existing entity you wish to map too)
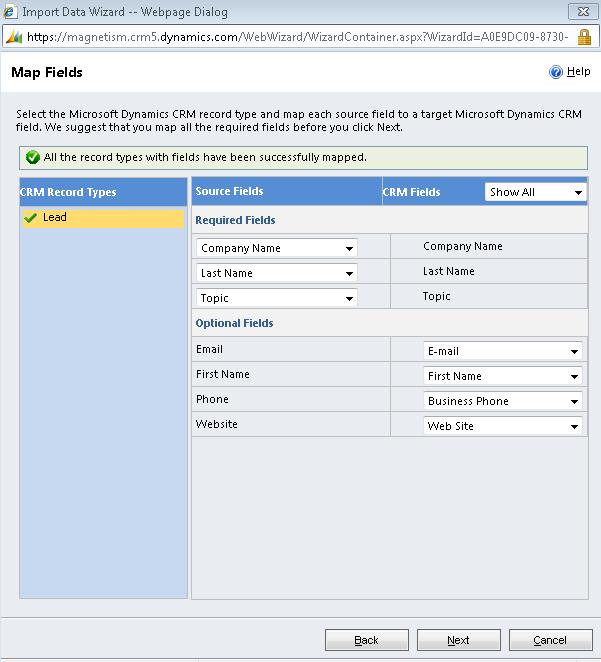
7. In my case I will specify to map to a lead, as my import name headings do match I am presented with the option to create the mapping:
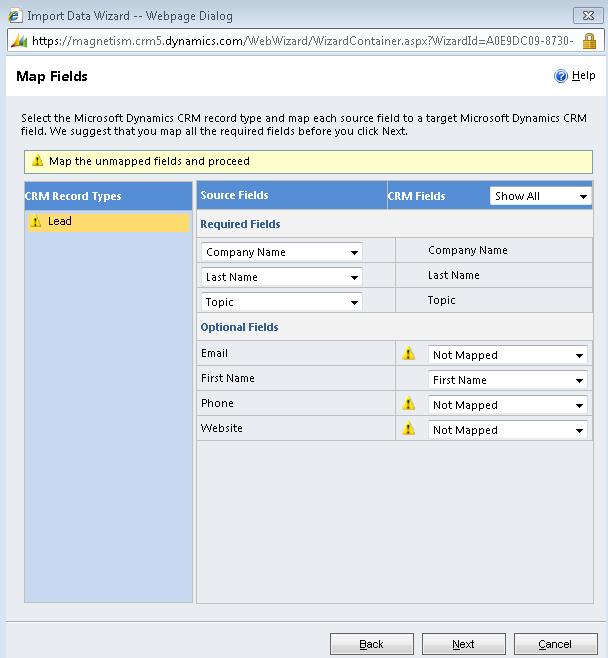
As can be seen the required Fields automatically have mapped as well as the First Name filed. I just need to create the mapping for Email, Phone and website.
NOTE: I can take the following actions at this point:
a. Ignore (not map the field)
b. Create New Field ( This will allow you to create a new field on the fly for the entity you a mapping to (is that cool or what, thanks Microsoft Dynamics Product Team)
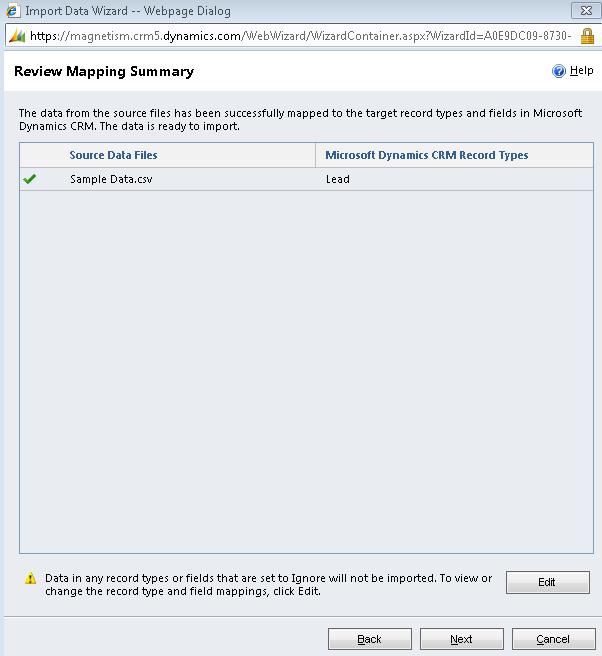
8. Once I have finished the mapping it will look like this:
From here I get the following Review Mapping Summary, I can Edit the field that I set to Ignore if I wish. This will loop me through the previous process.
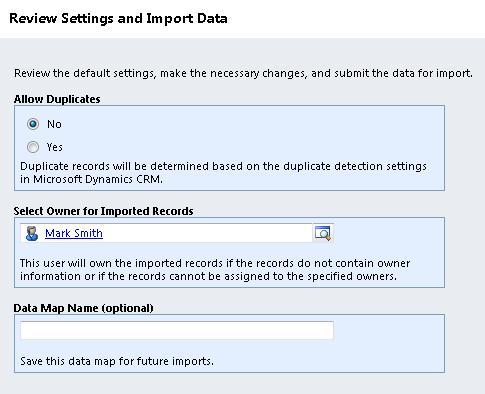
9. Next I can Review Settings and Import Data. I can decide how Duplicates will be handled, and who will be the owner of the new records created me by default. I also have the choice to name the data map for future use.
10. Next I submit for processing
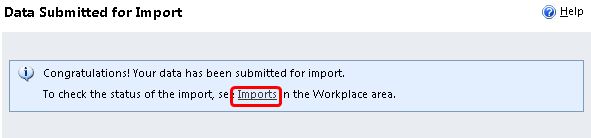
if I wish to check on it I can clink the link highlighted above.
This is a very brief look at a simple import; there are still many other features to explore.
Category List

Filter by Author
Adam Murchison
Alfwyn Jordan
Arthur Mandisodza
Calum Jacobs
Colin Maitland
David Mochrie
Dominic Liu
Gayan Perera
Harshani Perera
Isaac Stephens
Jaime Smith
Jared Johnson
John Barrencechea
John Eccles
Lauren Withers
Paul Nieuwelaar
Roshan Mehta
Roz Millar
Ryan Blaikie
Ryan Ingram
Sarah Coleman
Sean Roque
Shalane Williams