

How to create Month to Date Invoice Report in Microsoft Dynamics CRM 2011?
Megha Kainth, 11 October 2011
In this blog post, I have elaborated the process and procedure of how to create a Month to Date Invoice Report in Microsoft Dynamics CRM 2011. Dynamics CRM 2011 already has some in-built system reports, however, quite often users customize these reports to make them fit around their unique business needs and requirements. In CRM it is quite easy and simple to customize reports to make them in-line with your specific business requirement.
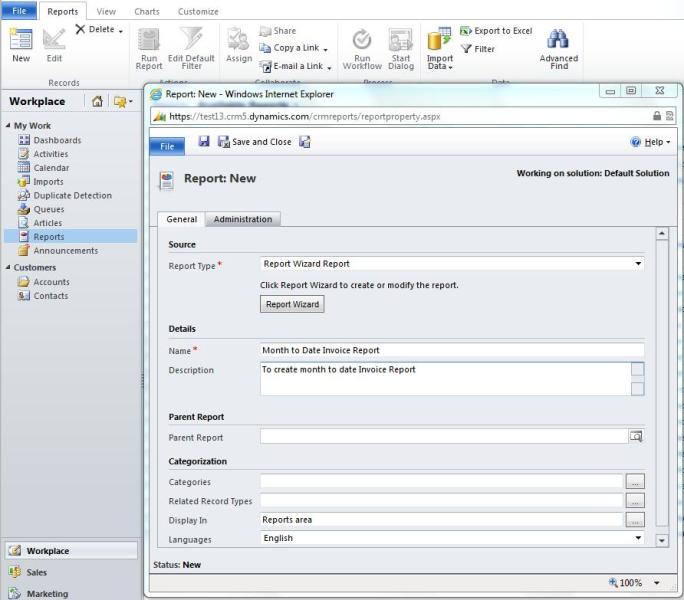
In order to customize reports, Navigate to Workplace, Click on ‘Reports’ >> Click on ‘New’ to create a new report.
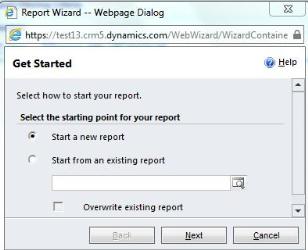
Select the Report Type as ‘Report Wizard Report’ >> click on Report Wizard to create ‘Month to Date Invoice Report’ >> select ‘start from a new report’ >> click on ‘Next’
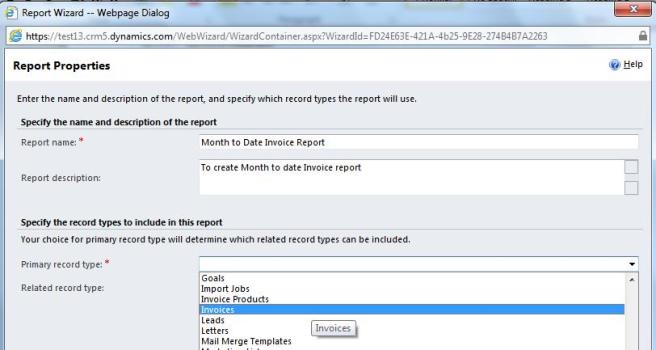
Select an appropriate name for your report and type in a brief description about the report >> click on the drop down menu of ‘Primary record type’ >> select ‘Invoices’ >> Click ‘Next’
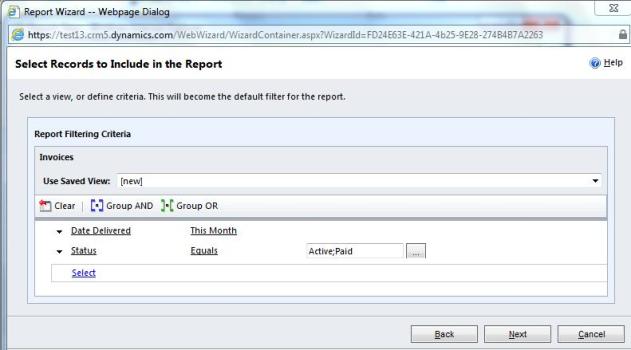
You can either use an existing system view or you have the choice to create a new view by defining the appropriate criteria for your report.
As we are creating Month to date Invoice Report, I have selected the criteria as ‘Date Delivered, This Month’. You can modify this criterion to suit your business requirement e.g. Status = ‘Active’ or ‘Paid’. Click on ‘Next’.
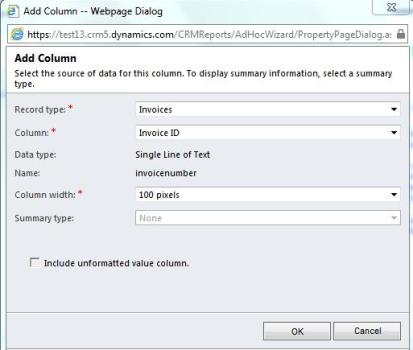
You can select columns of the report as per your business specific requirements. Click on ‘Add column’ to add column to your report.
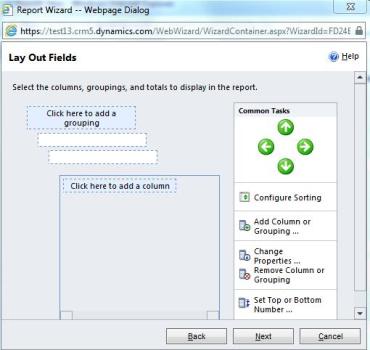
You can select column from the drop down list and select your column width as per your data requirements.
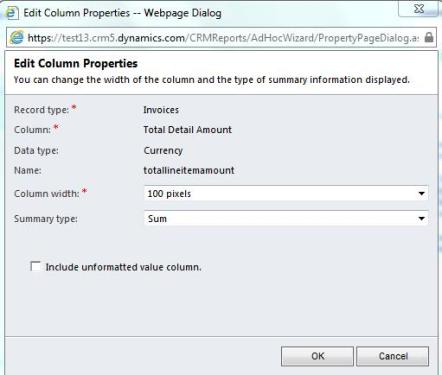
If you want to display the total of a column, e.g. ‘Total Detail Amount’, you can select summary type as ‘Sum’ and it will display the Total of that particular column.
CRM is very flexible application which allows you to change the properties of your columns and also allows you to define a column width as per your data requirements. You can use arrow keys to move your columns.

Once you are finished designing the report layout click on ‘Next’.
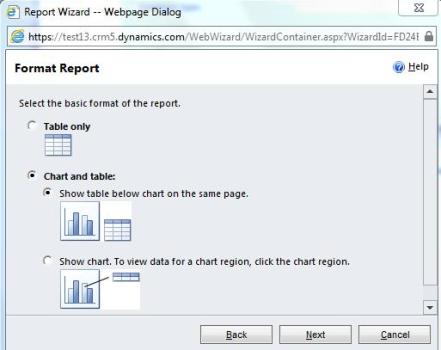
Next step is selecting the report format, you can either choose table or chart format. If you select ‘table’ format, CRM will create the report as per the chosen format. As we are creating an Invoice report which needs to be graphical, I have chosen ‘Chart and Table’ format. After selecting the format, click on ‘Next’.
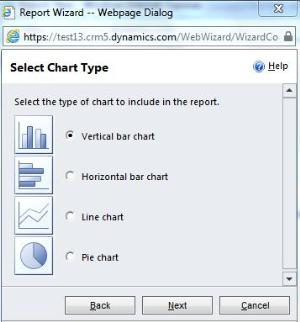
You can select your chart type from the available options. In this case, I have selected ‘Vertical bar chart’ >> click on ‘Next’.
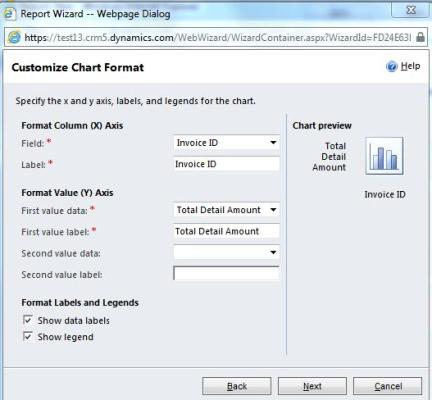
Report Wizard menu will provide you the options to customize your chart format.
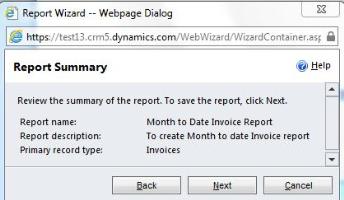
Review your report summary and if everything looks fine than click on ‘Next’.
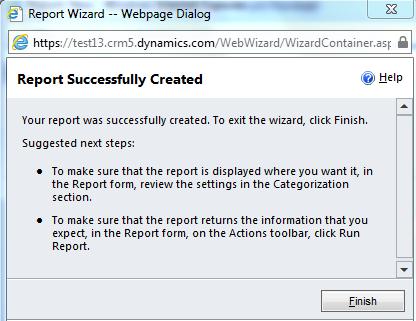
Your report is successfully created. Click ‘Finish’ to mark completion of report generation task.
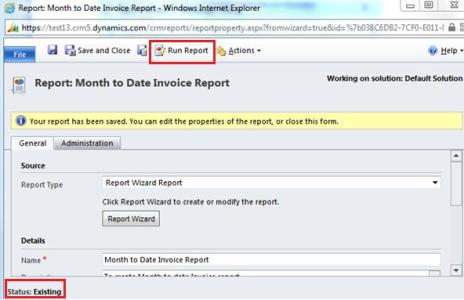
Your Report will be saved and status will be changed to ‘Existing’. Click on ‘Run Report’ to run your report.
At this point, your report is ready to be used. In next section, I have shown the outcome of the prepared report.
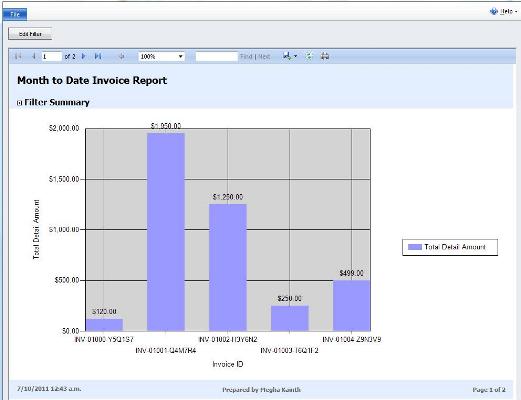
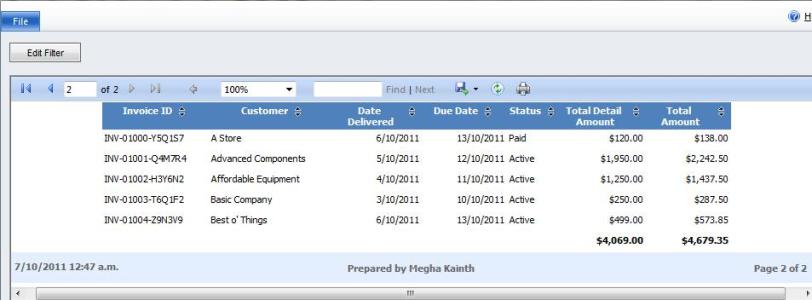
You will notice that there is a sum on the total detail amount and total amount columns as we have specified in the summary type. You can save your report by clicking on save button and you can save your report in PDF, Word or any other available format.
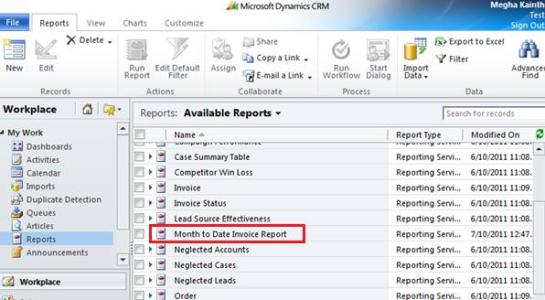
Now if you navigate to your workplace and click on Reports you will notice Month to Date Invoice Report is available there. You can run this report anytime to create a month to date invoice report by simply clicking on Month to Date Invoice Report. To execute your report, click on the ‘Run report’ option available on the report wizard. You can modify the filter criteria anytime by clicking on ‘Edit Filter’ so as to make it more specific as per your business requirements.
I will discuss more about reporting in Dynamics CRM 2011 in my next blog. So Stay Tuned!
Category List

Filter by Author
Adam Murchison
Alfwyn Jordan
Arthur Mandisodza
Calum Jacobs
Colin Maitland
David Mochrie
Dominic Liu
Gayan Perera
Harshani Perera
Isaac Stephens
Jaime Smith
Jared Johnson
John Barrencechea
John Eccles
Lauren Withers
Paul Nieuwelaar
Roshan Mehta
Roz Millar
Ryan Blaikie
Ryan Ingram
Sarah Coleman
Sean Roque
Shalane Williams